Easy Easter Bunny Painting Activity
![]()
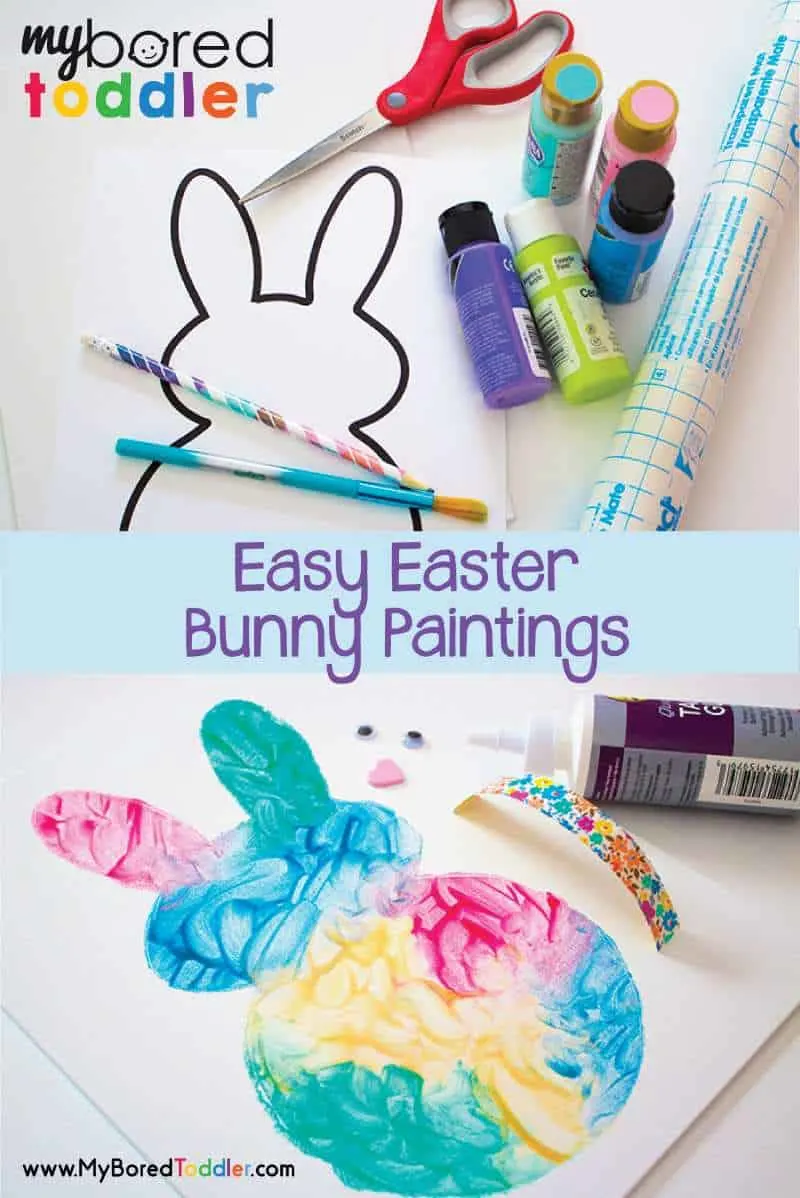
You'll love this easy Easter bunny painting activity that's perfect for toddlers and preschoolers. It's a great addition to our collection of Toddler Easter Activities that are always popular this time of year.
The weather where I live has been a bit indecisive lately. It bounces between icy snow and days that are truly borderline summer weather. The stretches of warmth have my kids and I dreaming of spring. With spring comes thoughts of Easter, which inspired the easy Easter Bunny paintings I am sharing with you today.
With a little parental set up ahead of time, this project is simple enough for even the youngest toddler to enjoy.
What you need to make an Easy Easter Bunny Painting:
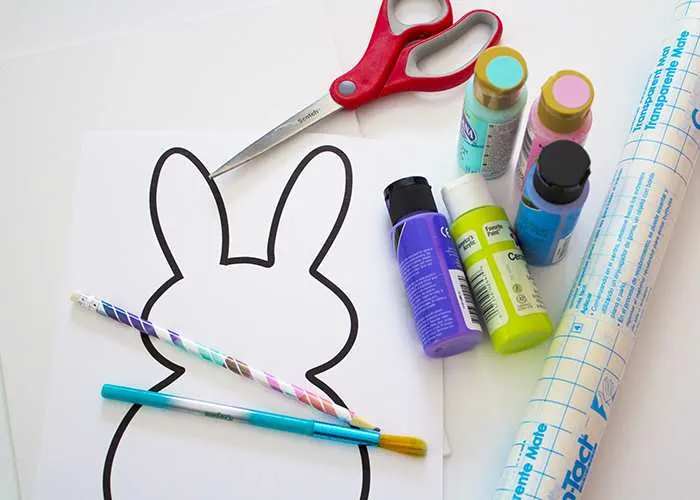
- A canvas- 9 inch x 12 inch is a great size.
- Removable contact paper.
- A pencil.
- Scissors
- Paints. Acrylic craft paints or finger paints, your choice. I like these washable finger paints.
- Paintbrushes, if not using finger paints. I like these ones which are great for toddlers to grip.
- Optional: craft glue and pom poms, decorative eyes (I like the peel and stick ones), ribbons, etc.
- Free printable bunny template (Download template HERE)
How To Make An Easy Easter Bunny Painting:
- If you are using the template, print out a copy. Trace the bunny shape (or free-hand sketch it) on the contact paper with the pencil. Your contact paper should be big enough to cover your entire canvas.
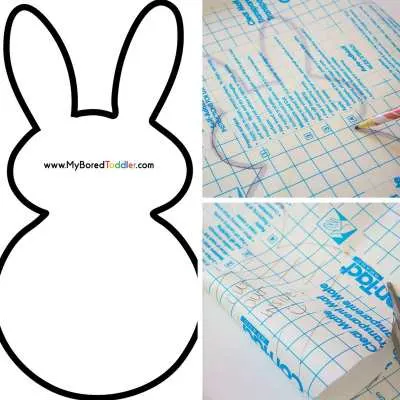
- Use the scissors to cut out the inside of the bunny, creating a stencil. Peel the backing off the contact paper and smooth the stencil onto your canvas. Make sure the bunny edges are fairly well pressed down.
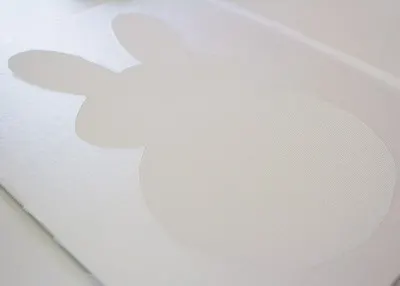
- Now is the time to let your little ones jump in and get a little messy! Your toddler can get some great sensory benefits from the project if you choose to use finger paint with them. Let them smear paint all over the bunny space on the canvas. Alternatively, you can also use craft paint with paint brushes or even sponges to add color to your rabbits.
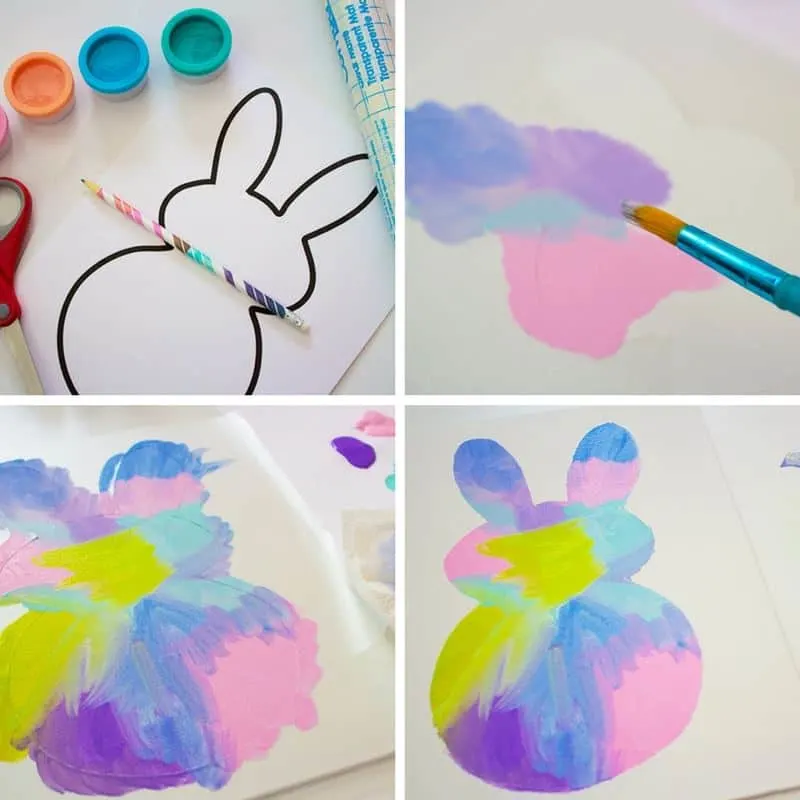
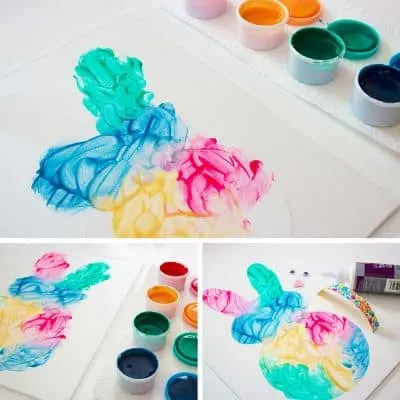
- When your bunny is completely covered in paint, carefully peel up the contact paper. Your bright bunny will stand out against the plain white canvas. Set the canvas aside and let it dry completely.
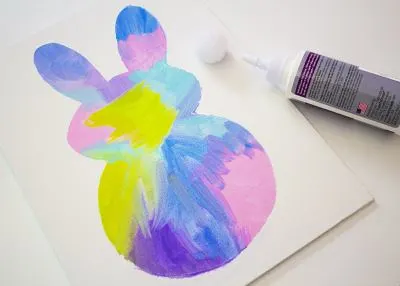
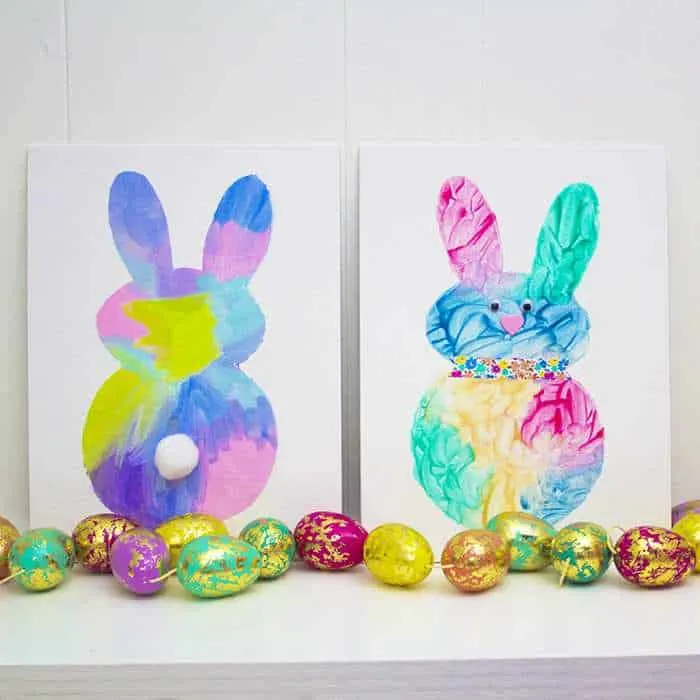
- You can choose to let your kids add some extra detail to the project. In one, we decided our rabbit was facing away from us, so we attached a pom pom tail with some craft glue. We decided the other bunny was facing forward, so we added some eyes and a craft foam heart for a nose. This project is very open ended, so you can use whatever craft bits and pieces you have on hand to decorate your rabbits. Be sure to let the glue dry thoroughly before hanging up your child's easy Easter bunny artwork!

Before we know it, the Easter Bunny will be hopping our way. I hope you and your family enjoy this craft as a way to celebrate spring and get excited for the holiday! Make sure you check out more of our fun Easter Activities for Toddlers here.
About the Author
Kate is a former fashion designer turned semi-reluctant stay-at-home-mama. She enjoys using her design background to encourage a lifelong love of learning and literacy in her sons. Visit her at Homebound But Hopeful to stay up to date on craft and learning activities inspired by popular children’s books. You can follow Kate on Instagram, Twitter, Facebook and Pinterest.
More Toddler Activities!
If you want to keep your toddler busy makes sure you subscribe to our weekly newsletter and follow My Bored Toddler on Facebook, Twitter, Instagram and Pinterest.
If you enjoyed this activity here are some more that you may enjoy:
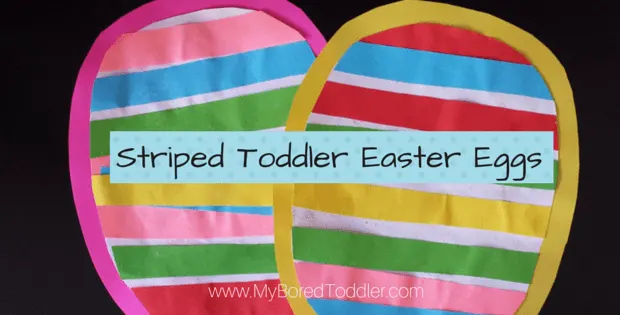
Easy Striped Toddler Easter Eggs
Have you seen these FREE Toddler Easter Printables?
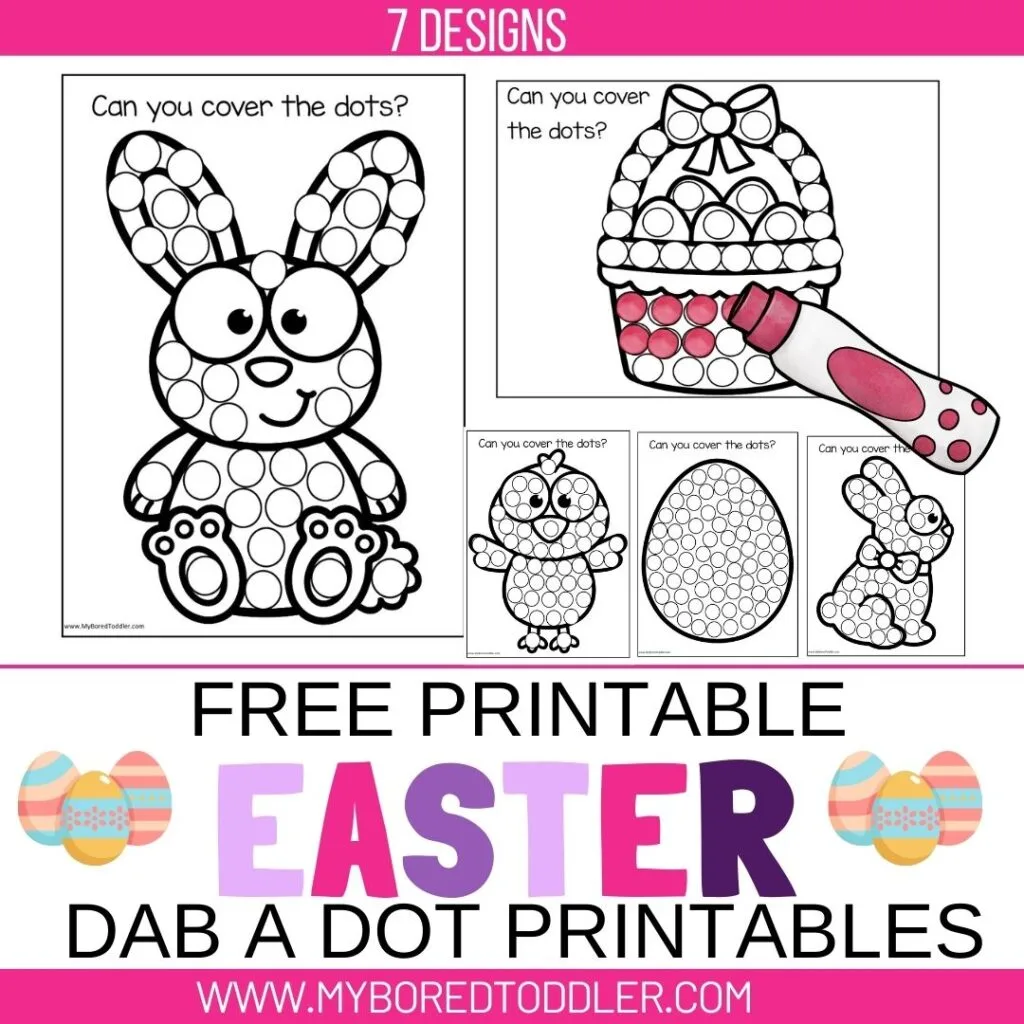
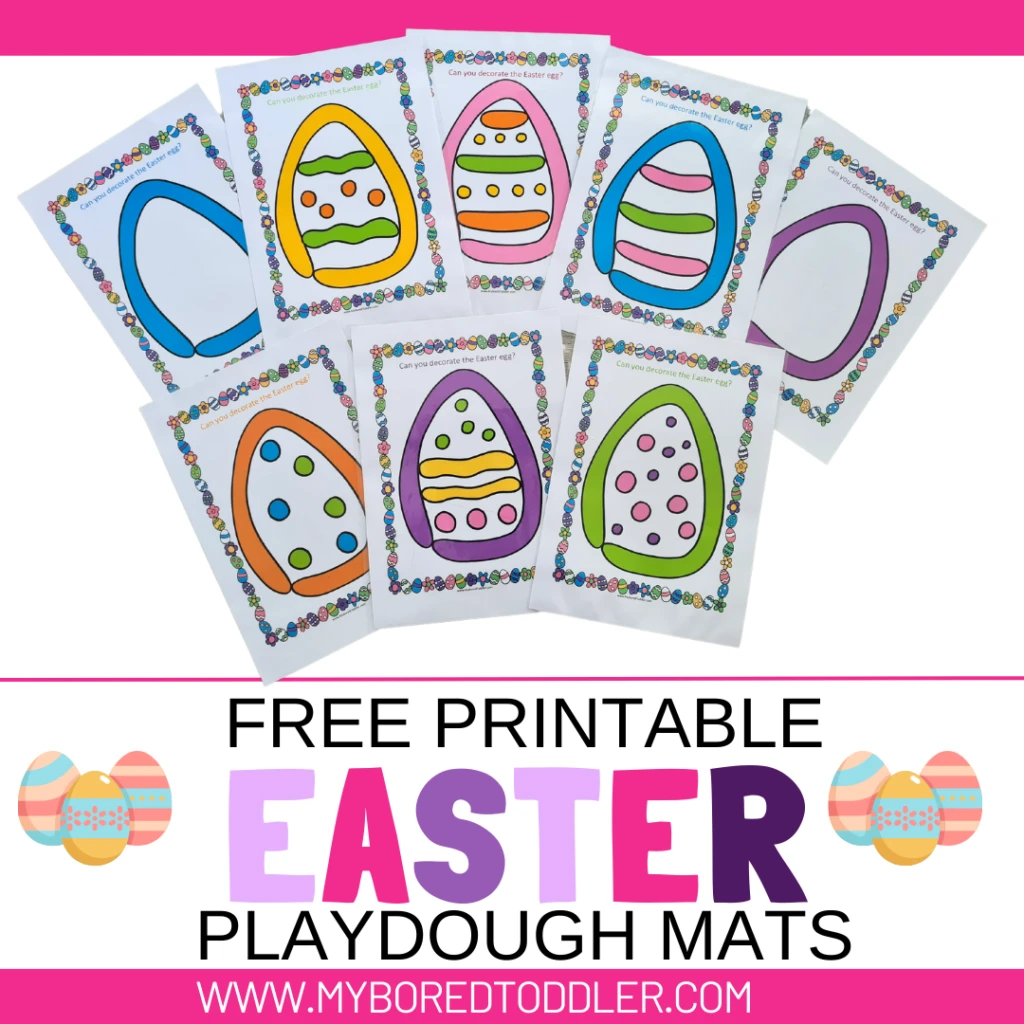
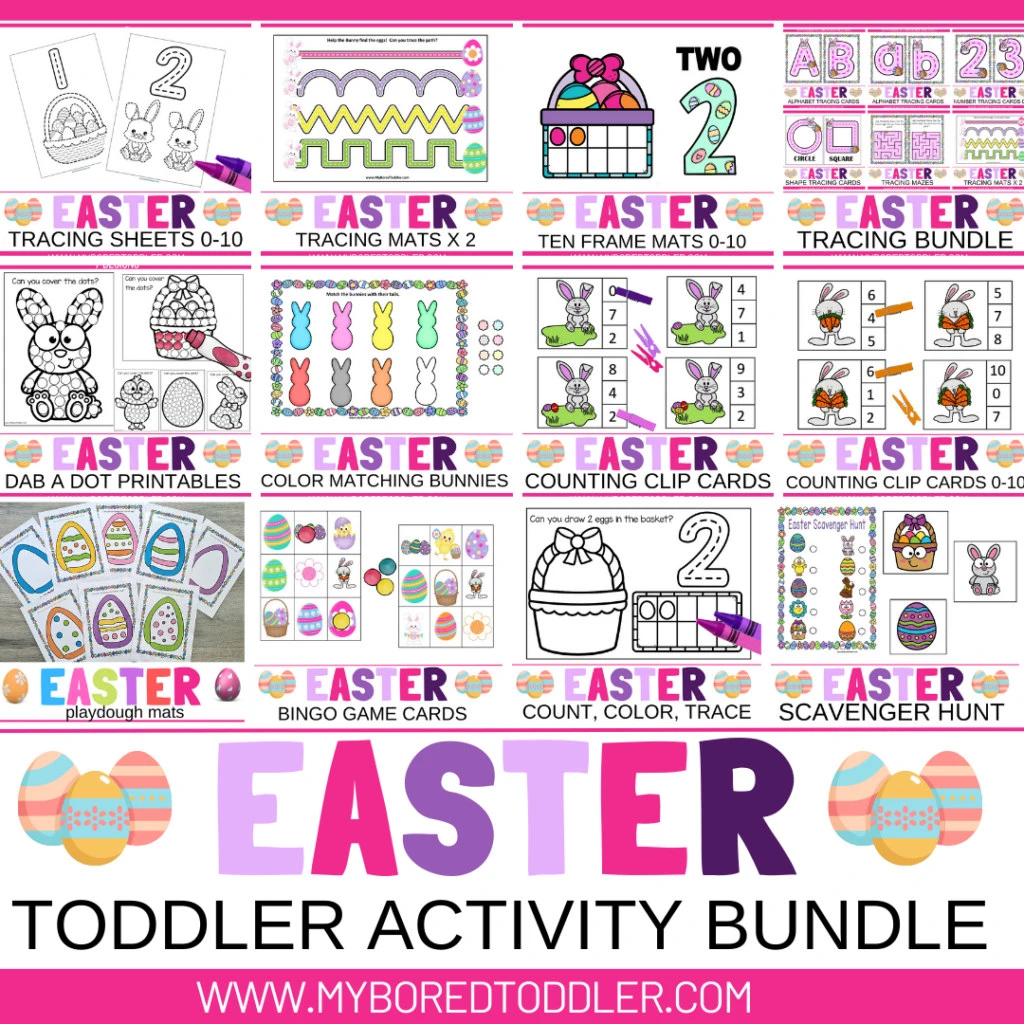
Don't miss our HUGE Easter Printable Bundle
Michelle Flanagan
Tuesday 9th of April 2019
I have more of a question than a comment. I’m wondering, is it sticky side up or sticky side down ? I’m not 100% sure and would love to do this activity at work.