We often talk about the sky. It is a topic that comes up when choosing what to wear and the activities for the day on a regular basis. We talk about the clouds, the colours of the sunset and the birds as they fly past. What about beyond what we can see? To begin our space themed play, we created our own Marble Painted Planets.

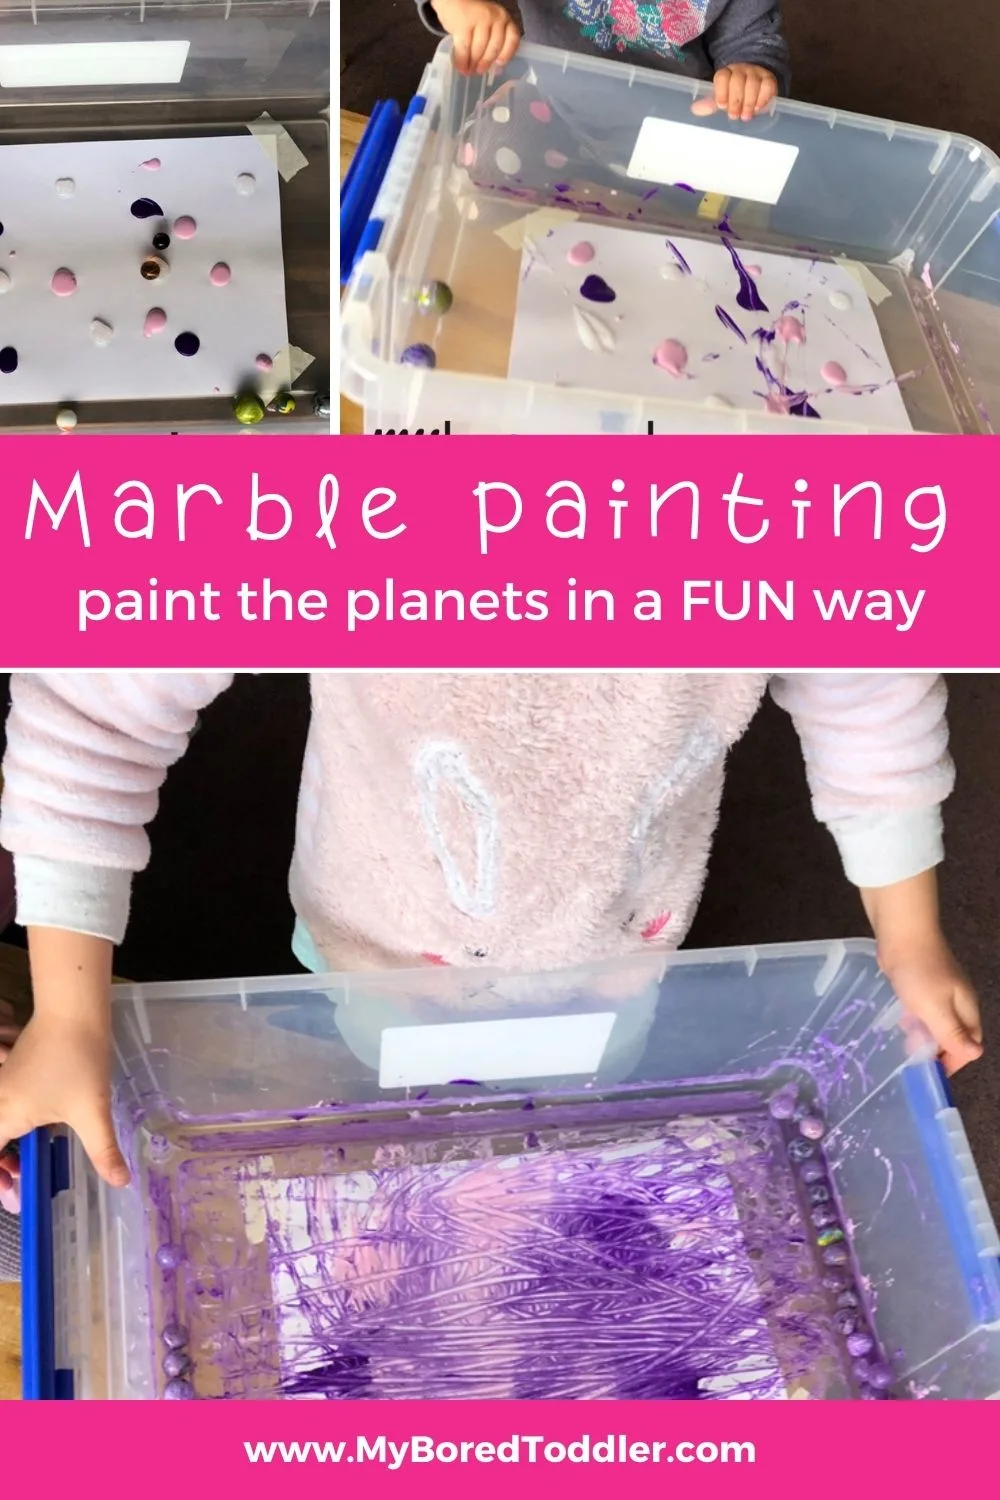
Marble Painted Planets
Miss 5 was fascinated to learn about the planets in our solar system and questioned why they were different colours. After a quick google, I explained to her that the planets take on the colours of the elements on their surface.
From here I invited her to create her own planet. The elements that she chose to have on the surface of her planet were blueberries, strawberries and fairy dust.

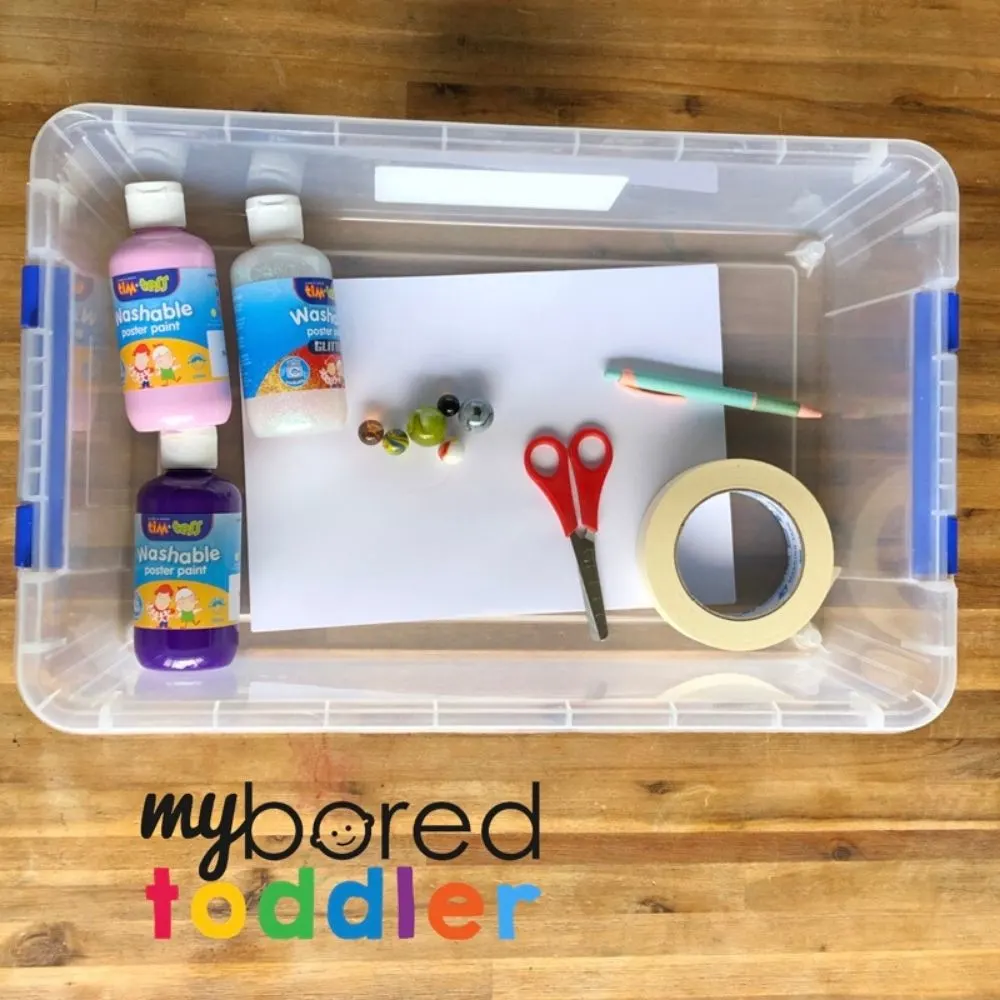
What you need to make a Marble Painted Planet:
- Baking Tray/Box/Tub
- Paint (I always recommend this washable paint)
- Marbles
- Pen
- Tape
- Paper
- Scissors
We chose to use three paint colours to create our planet. This is a great way to introduce the concept of our three types of colours; primary, secondary and tertiary colours. For example, you could mix blue and yellow to make green or red and blue to make purple.
If you don’t have any marbles, why not use stones or gumnuts instead? Would these have the same effect as marbles? Another experiment to explore!
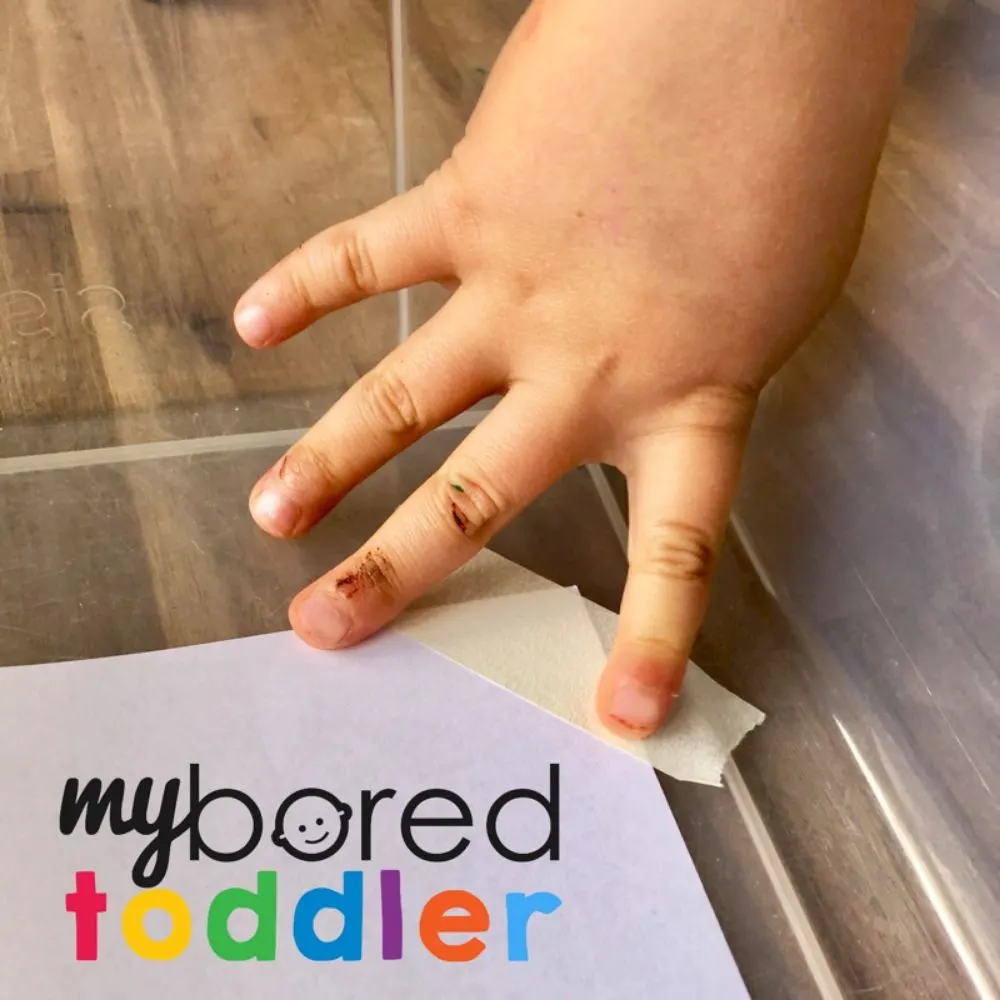
How to setup your Marble Painted Planet activity:
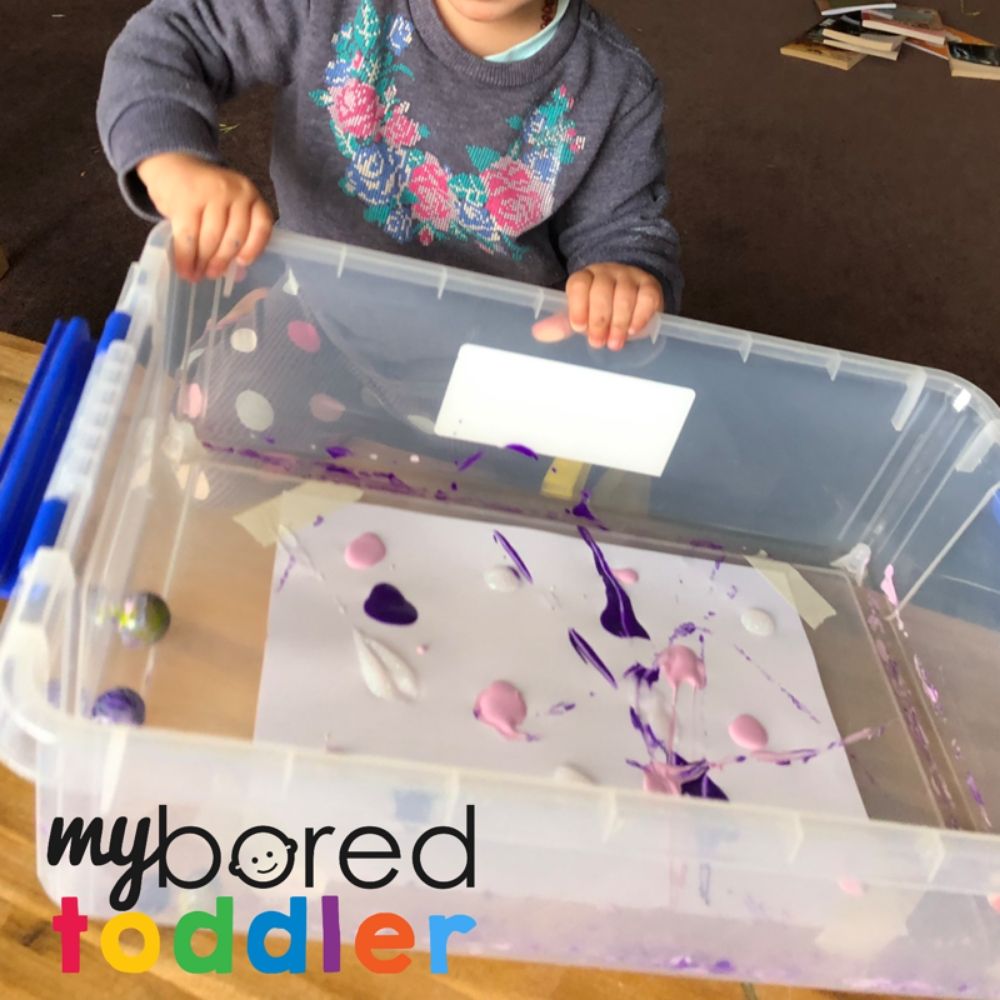
To get started, use your tape to secure your piece of paper to the bottom of your tray. I found a piece in each corner adequate. Ensure the paper is as smooth as possible so the marbles won’t slide between the tray and the paper.

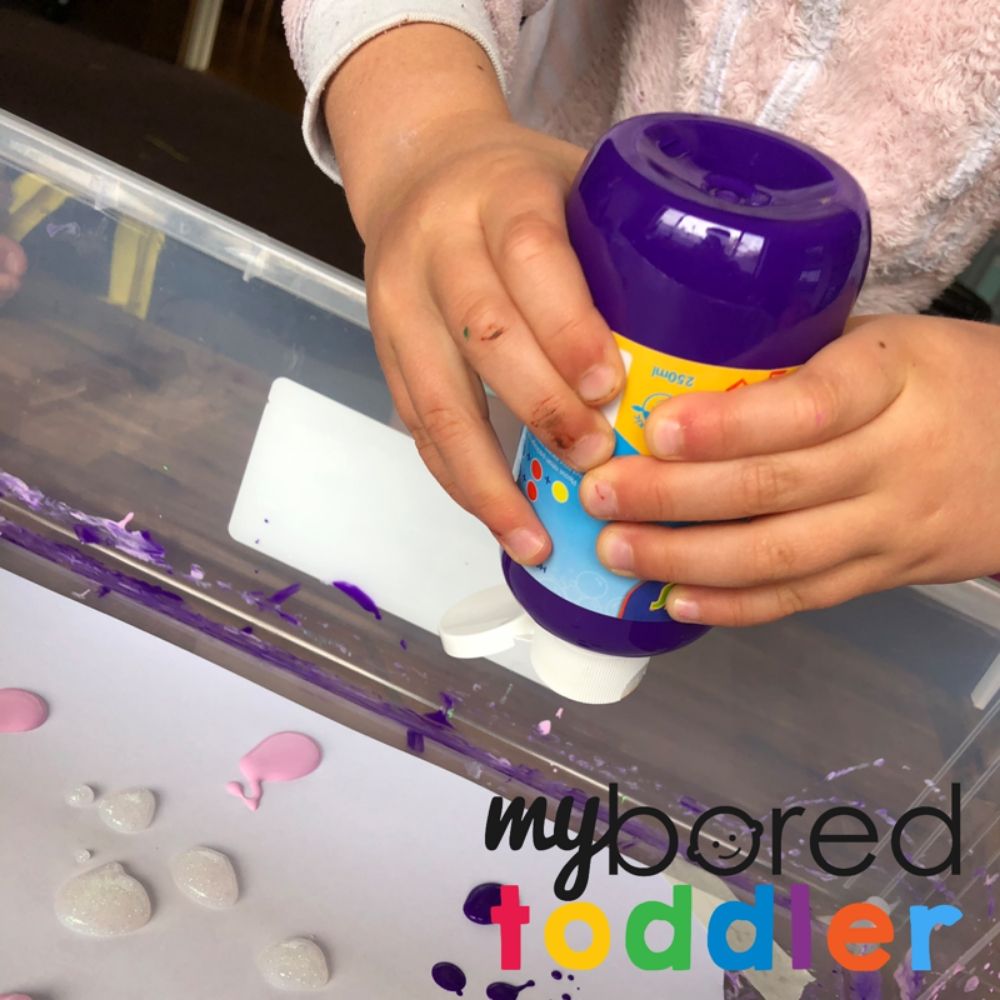
Add your paint. Drop your colours around the page. You may like to mix them up or build a gradient. Start off with less rather than more to be able to see the effect of the marbles. You can always add more while playing.

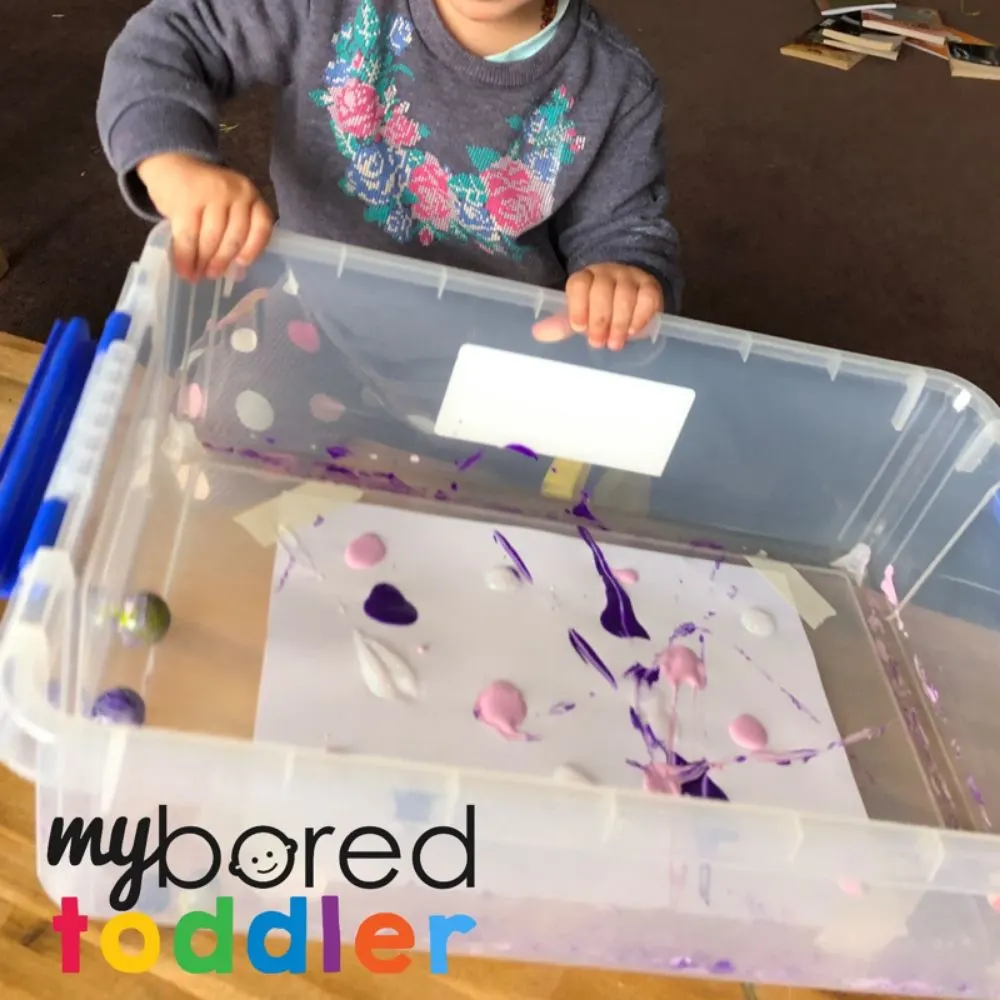
Gently drop your marbles onto the page and get ready to rock and roll! Holding the tray with both hands, gently tilt the marbles to roll them across the paint. As the marbles roll through the paint, they drag the colour and leave track marks across the page!
This is a great way to build up those gross motor skills, they are the larger muscle groups in your child’s shoulders, upper and lower arms. You can bring your child’s attention to the larger blobs of paint so they will be encouraged to trundle the marbles through them.
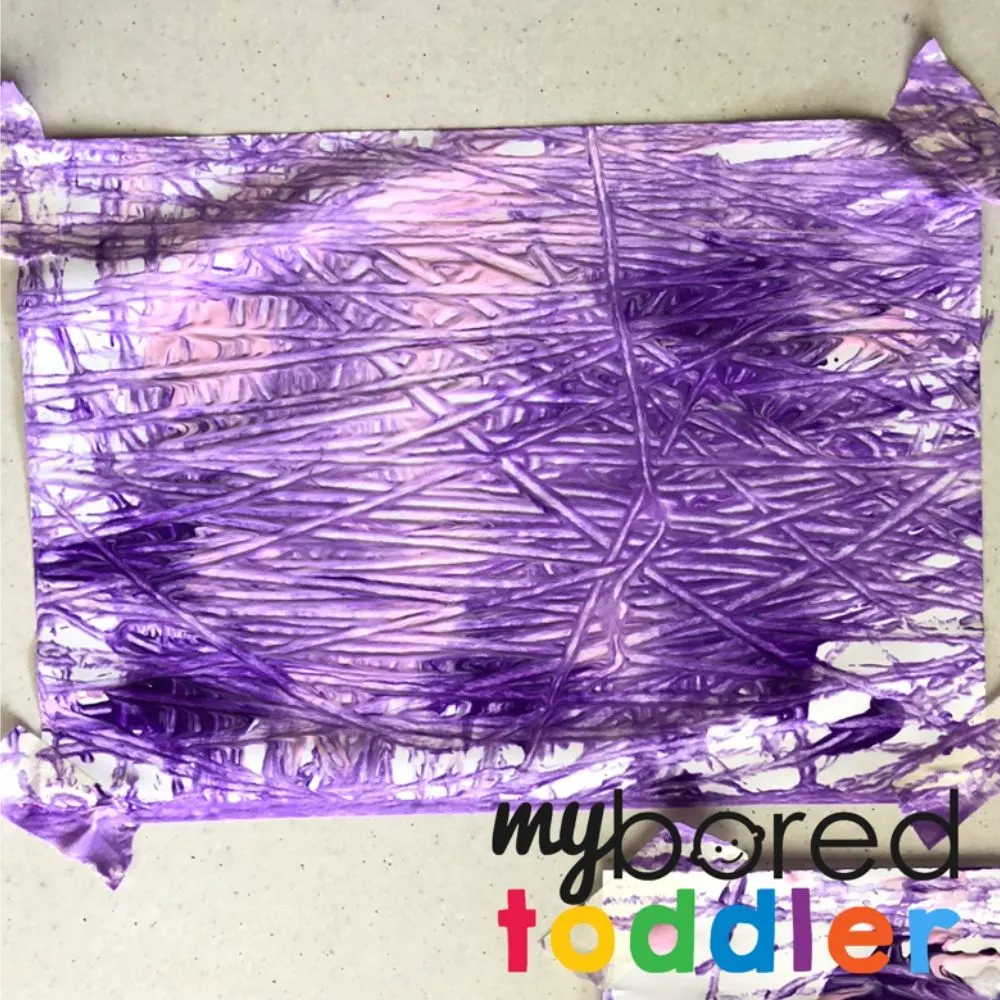
Once your child is satisfied with their artwork, gently peel the taped corners from the base of your tray and hang the paper to dry. Please take care lifting the tape as the wet paper will tear easily.
Once dry, we used our roll of tape as a stencil to draw a circle on the painted paper with our pen. If your roll of tape is too small, you could use a bowl or jar as a template instead. Then simply cut it out and your planet is complete!

Why not create different colour planets and create your own solar system? Each planet is unique. Even when cutting multiple planets from the same piece of paper, no two will be the same.
This activity opens up so many learning opportunities. From learning about planets beyond ours to gross motor, experimental colour mash ups to fine motor skills. Marbles Painted Planets are definitely one to put on the to do list!
For more fun toddler activity ideas why not join our Facebook Group or follow us on Instagram – follow @myboredtoddler and use #myboredtoddler.
SOME MORE FUN TODDLER ACTIVITY IDEAS YOU MIGHT ENJOY ARE:

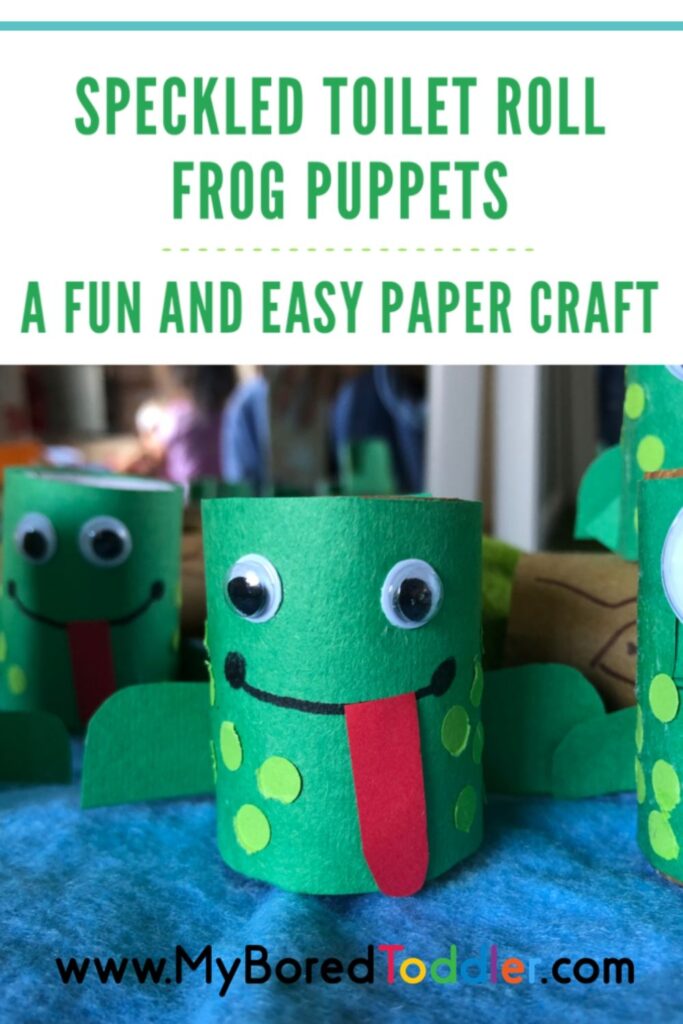
Speckled Toilet Roll Frog Puppets

About the Author
Dani is a busy stay at home Mum of 3 and early childhood teacher in training who is passionate about play based learning throughout early childhood. For educational play ideas that you can do at home and parenting tips visit Play Inspired Mum Check her out on Instagram andFacebook