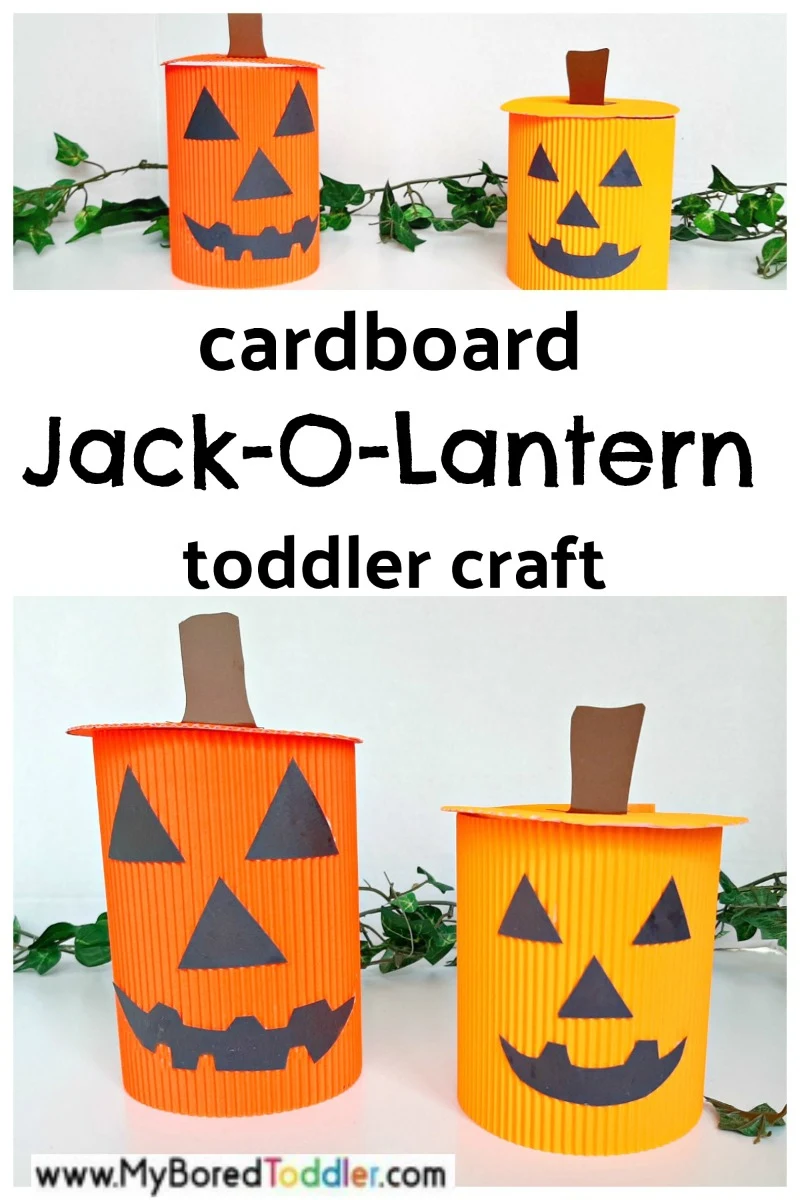
These cardboard Jack-O-Lantern's are perfect for a Halloween craft for toddlers!
Celebrate the fall season with a pumpkin craft that’s fun for toddlers and preschoolers. Kids can make their pumpkin faces just a little bit spooky to be ready for Halloween.

![]()
![]()
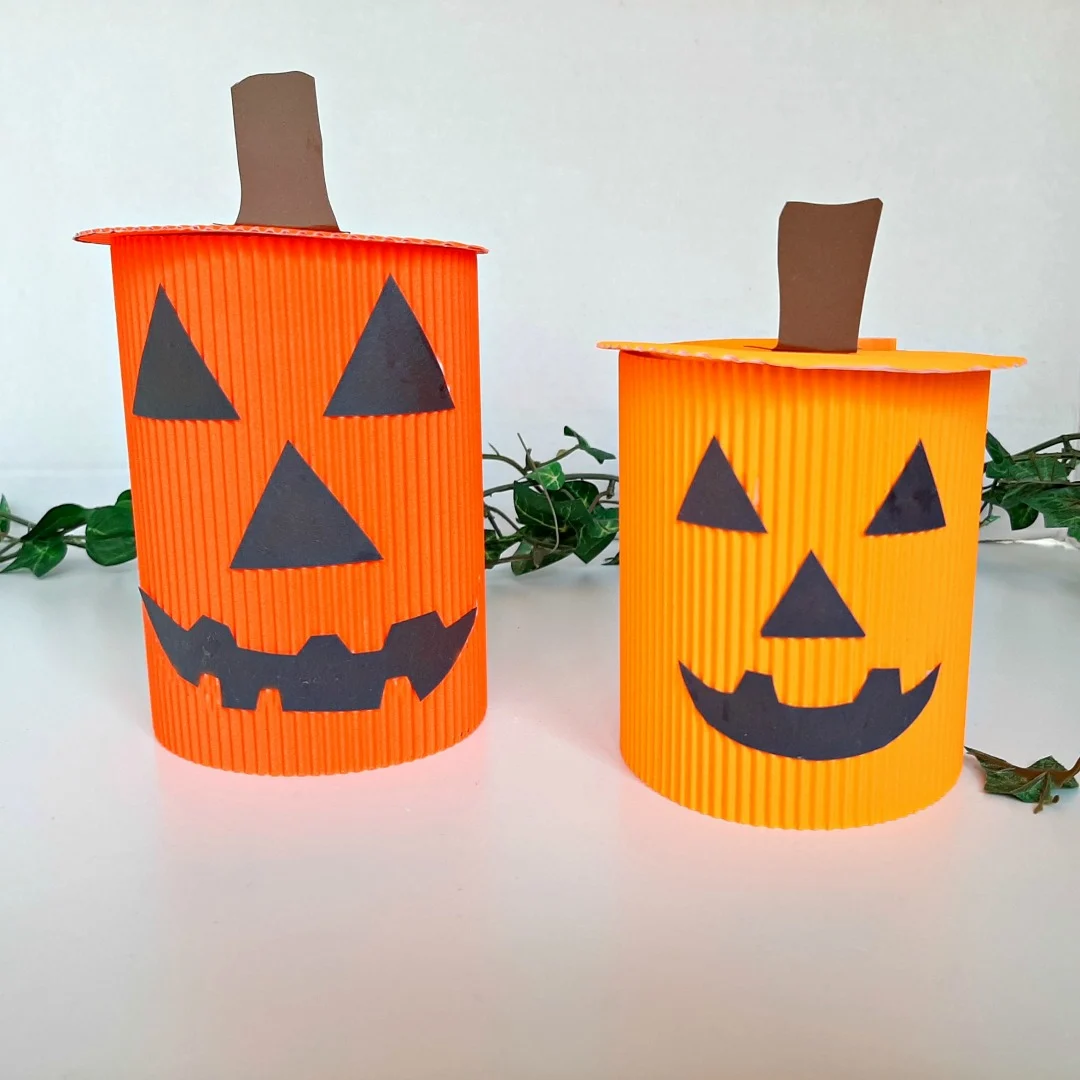
Cardboard Jack-O-Lantern Craft
The fall season is harvest time in many areas. The harvest often includes lots of pumpkins. We can explore this colorful season with our little ones by planning crafts and activities with pumpkins in all shapes and sizes.
A pumpkin craft with corrugated cardboard is one craft that toddlers are sure to love. It provides hands-on fine motor and creative play for kids, and is easy to provide with basic craft materials.
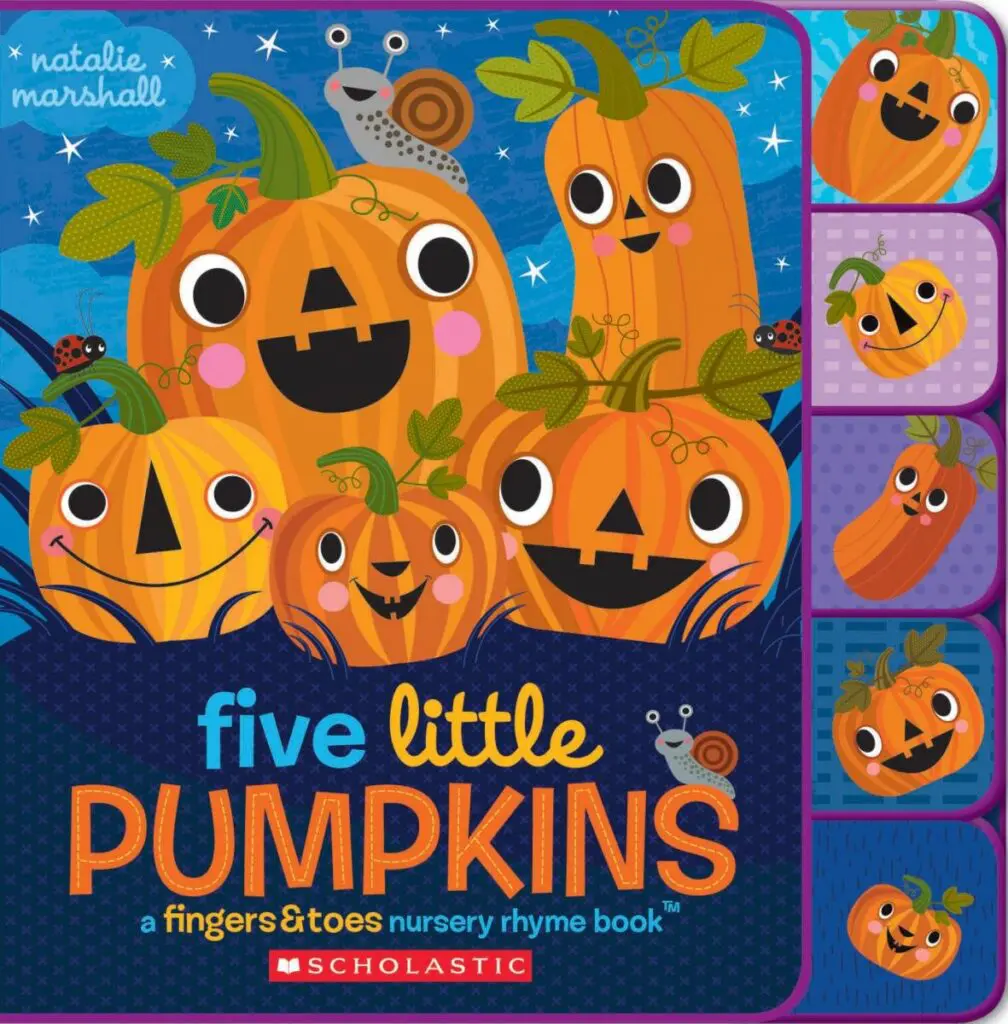
We love doing this craft after we read 5 Little Pumpkins (available HERE on Amazon)

What you need to make a cardboard Jack-O-Lantern

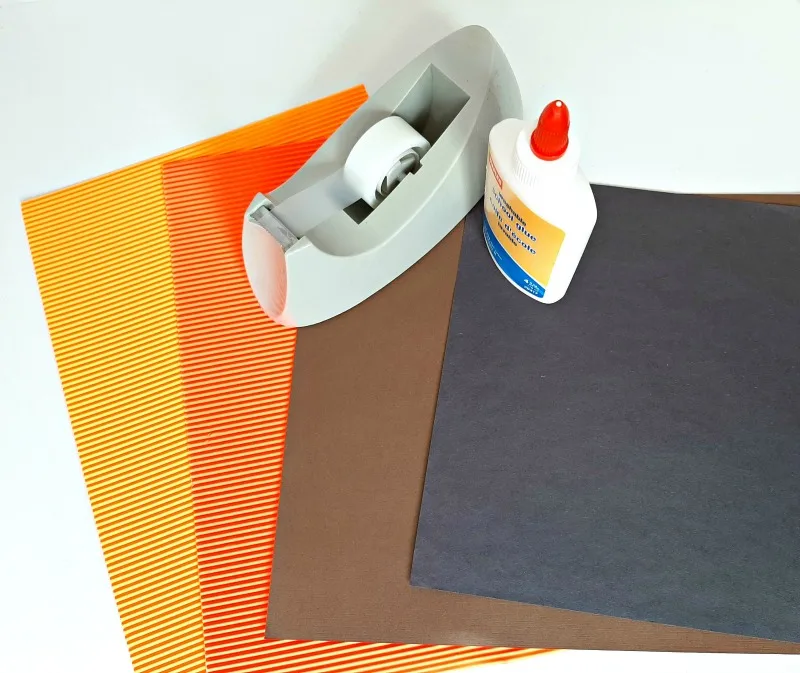
This corrugated cardboard was purchased in a craft store (you can get a mixed pack HERE on Amazon) You might also see brown corrugated cardboard being used as packaging material in shipping boxes. You can save it for crafts and activities with the kids. The ribs in the cardboard provide a fun sensory experience.
If corrugated cardboard is not available you can certainly use regular cardboard or cardstock for this activity. Painting the cardboard orange can be part of the activity.
How to make a cardboard Jack-O-Lantern
A full size sheet of corrugated measures 8.25 inches (21 cm) x 12 inches (30 cm). Cut this to approximately 5 inches (12.5 cm) x 12 inches (30 cm). Save the smaller portion for the top portion of the pumpkin.
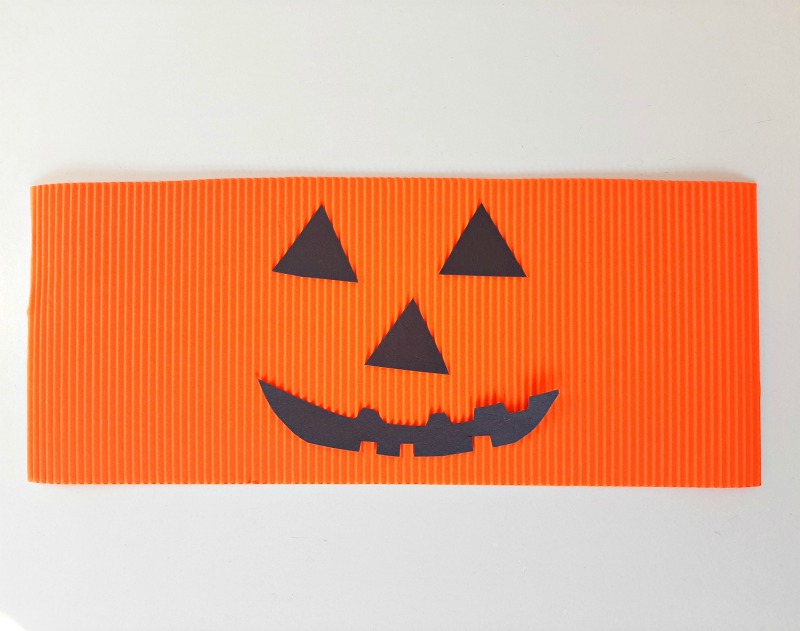
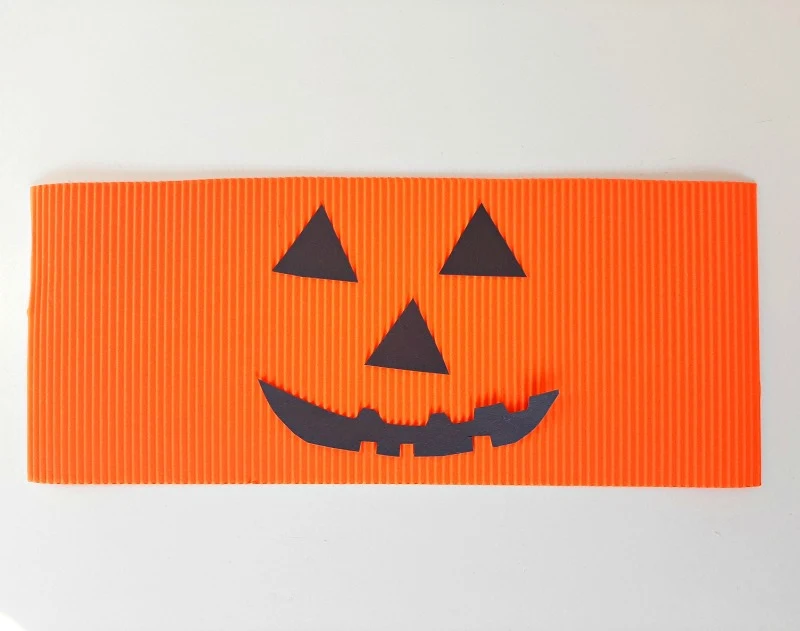
Cut out facial features from black construction paper. The faces can be silly or spooky - let your toddler decide.
This craft gives kids an opportunity to experiment with glue, as lots of glue is needed to secure the face to the pumpkin due to the ribs in the cardboard.
Allow your child time to squeeze a small bottle of glue for fine motor work. You could also pour some glue into a small jar lid or dish if preferred, and provide a craft stick for spreading the glue onto the pumpkin.
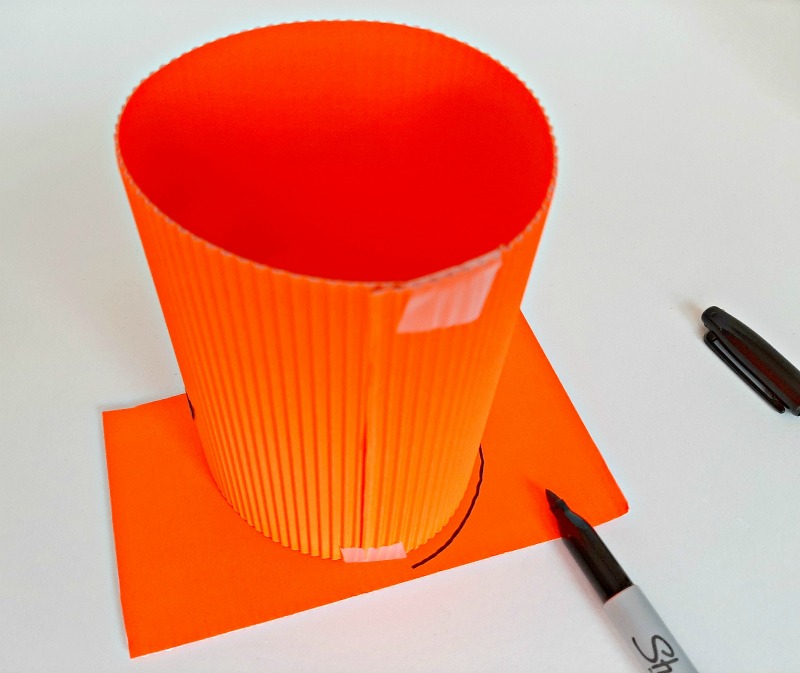

Roll the cardboard to form the pumpkin, then tape to secure.
Place the pumpkin on the saved portion you removed from the sheet of corrugated cardboard. Draw around the base of the pumpkin with a pencil or marker, then cut out the circle.
This does not have to be a perfect circle shape, and should be slightly larger than the base of the pumpkin.
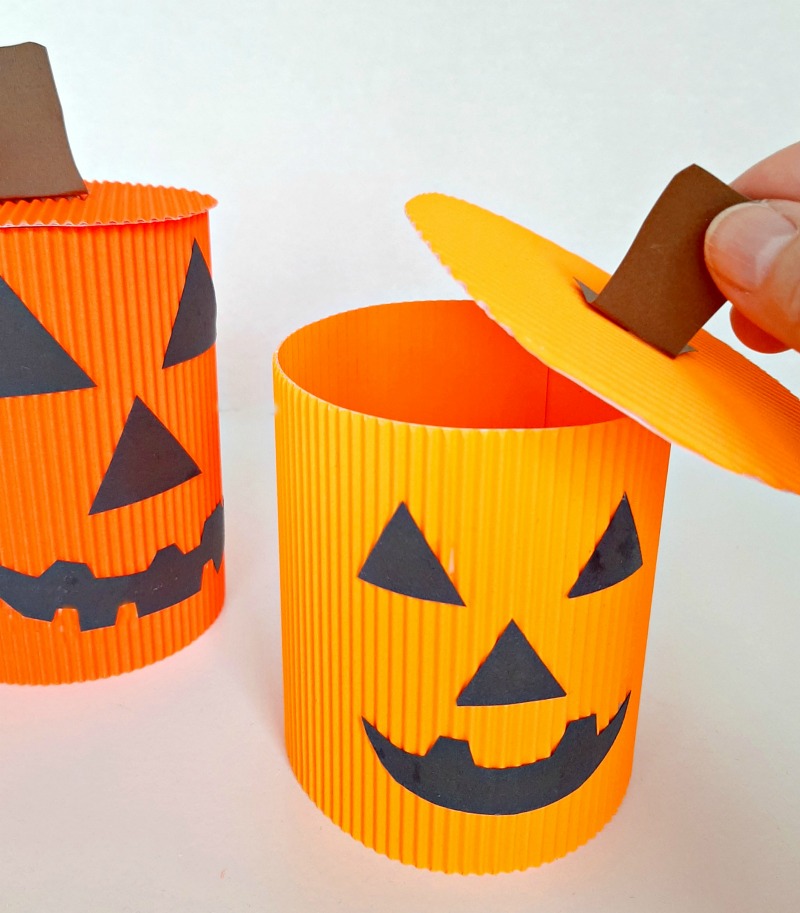

Cut out a small stem from the brown cardboard. Bend the bottom of the stem slightly and glue to the pumpkin top. This serves as a handle to lift the pumpkin lid.
What can you put inside your jack-o-lantern? A small toy? A candy?
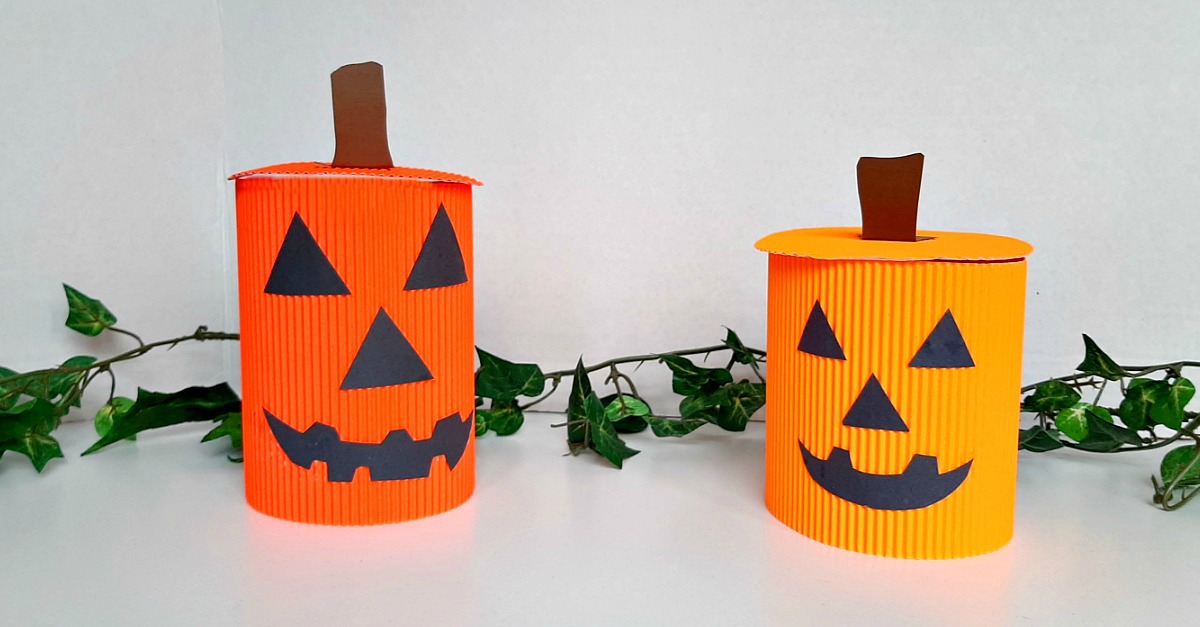
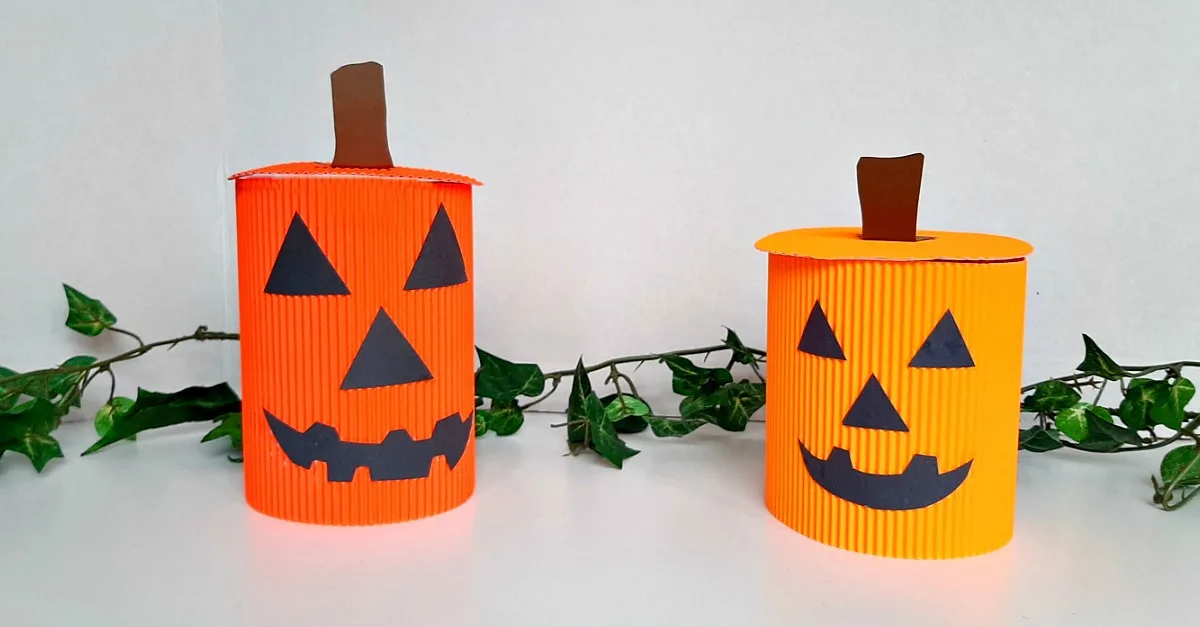
This pumpkin craft makes a cute decoration for fall and Halloween. Place the pumpkins on a table with some greenery to resemble a pumpkin patch.
Happy Halloween!

We always love to see your creations! Why not join our Facebook Group and share a pic of your Jack-O-Lantern!
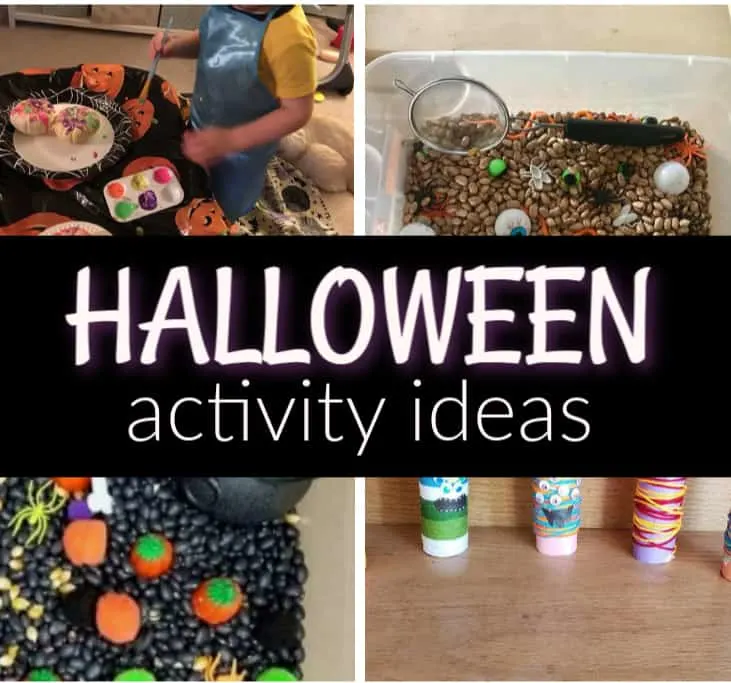
For some more fun toddler activities you might enjoy:

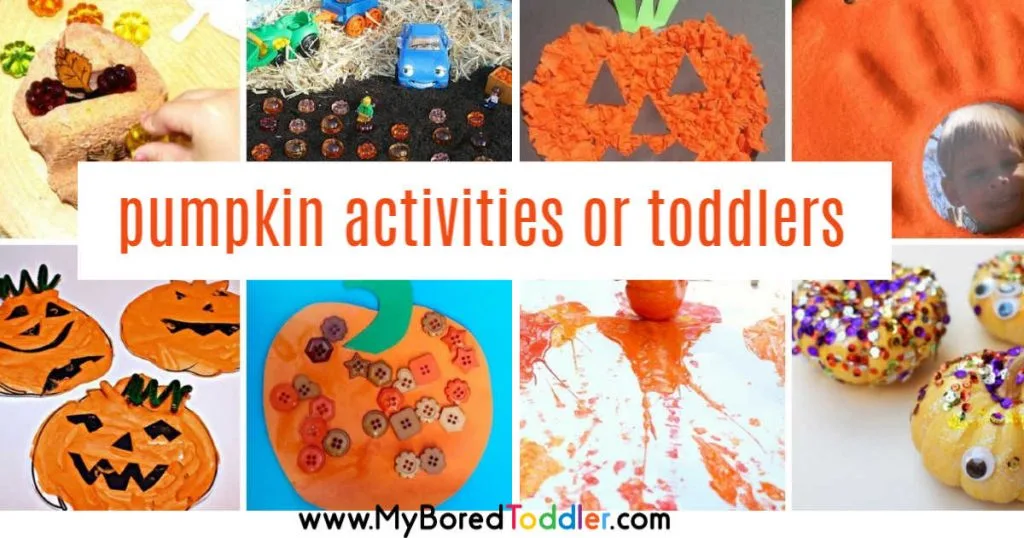
Halloween Activities for Toddlers

About the Author:
Heather is a former preschool teacher and founder of preschooltoolkit.com, a website providing early learning resources for teachers and parents. She focuses on creating fun crafts and activities that engage developmental skills while promoting hands-on learning through play. Follow her on Facebook, Pinterest, Twitter, Instagram
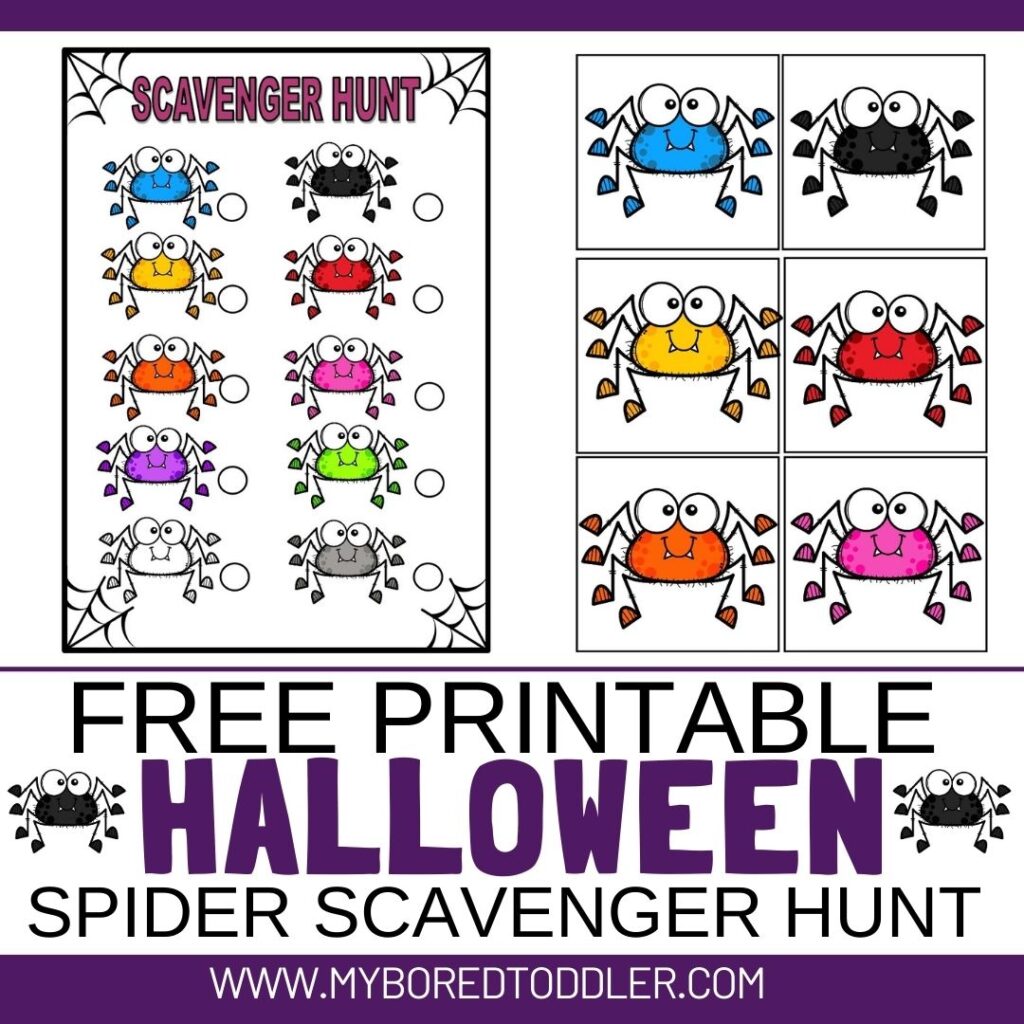
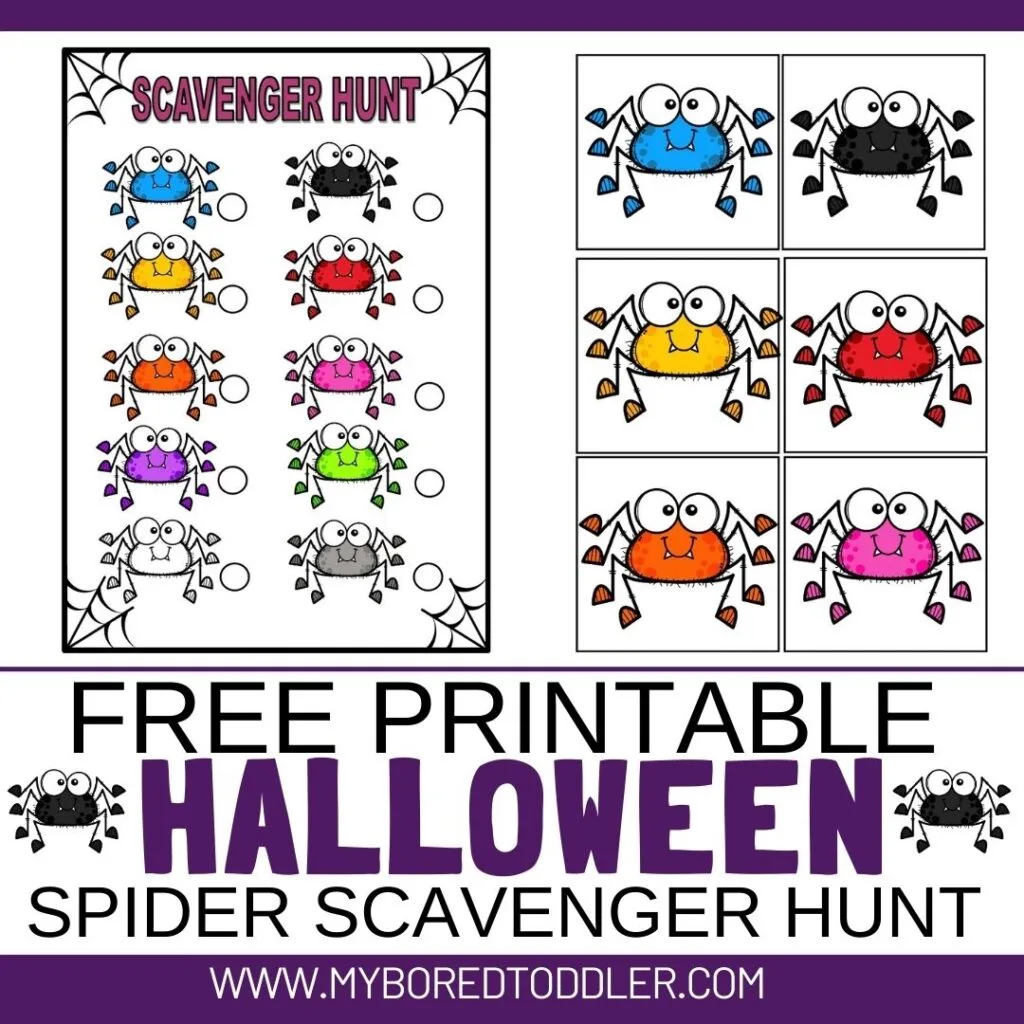
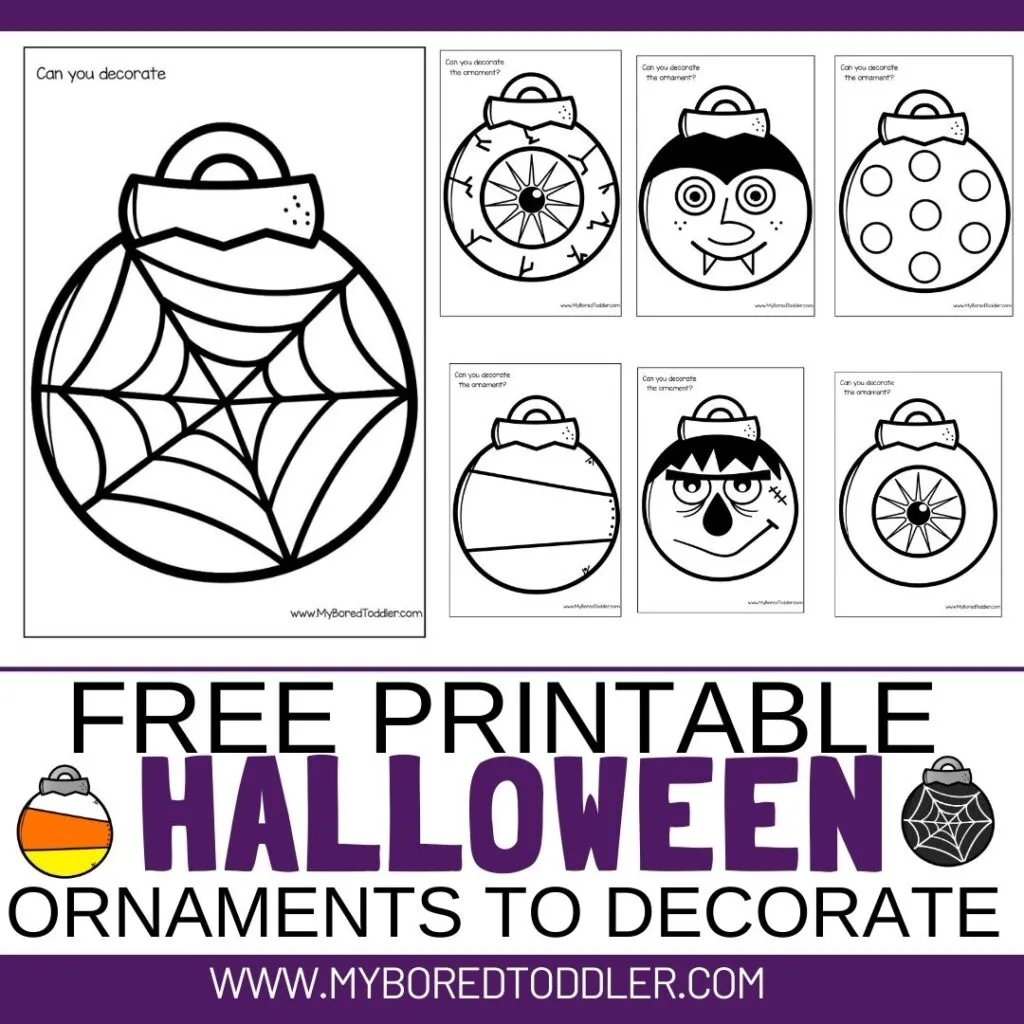
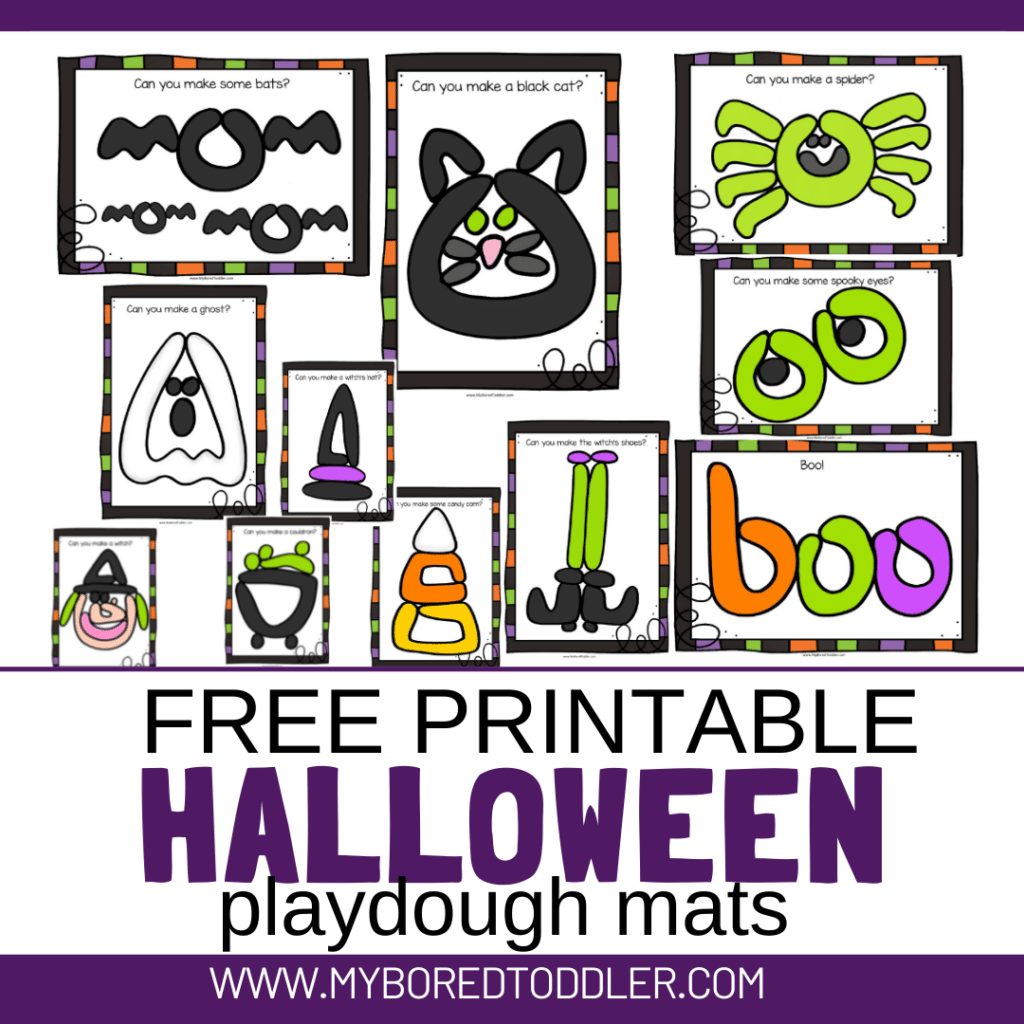
Some fun Halloween FREE Printables for Toddlers