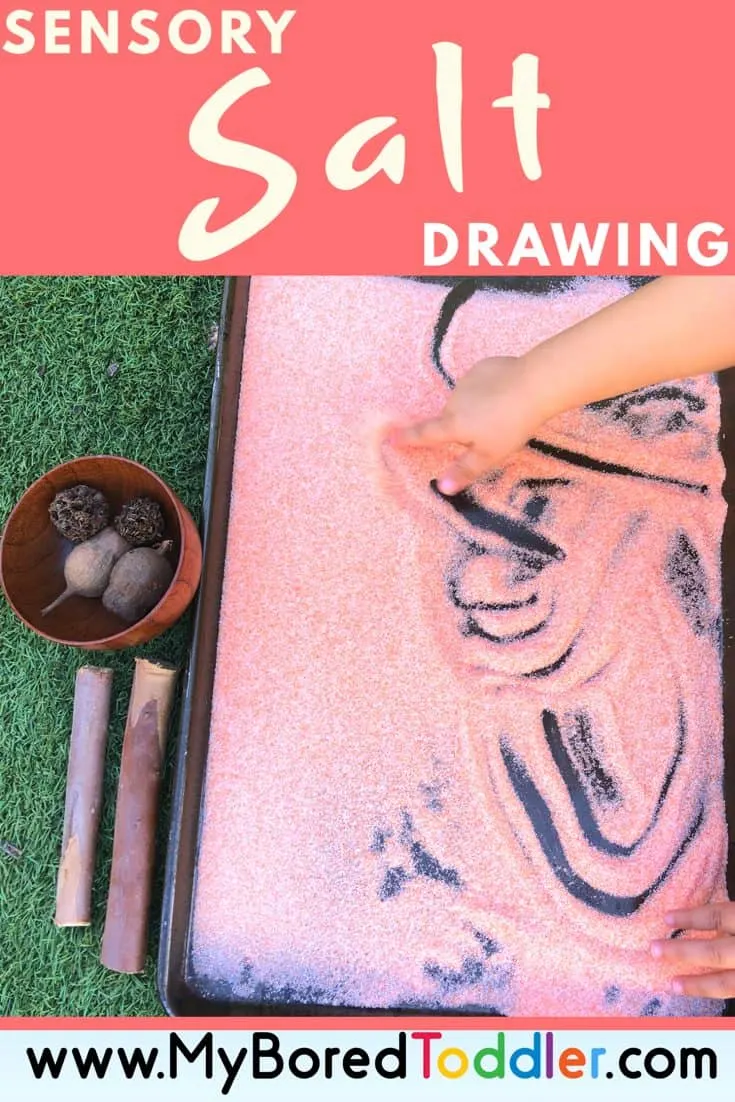
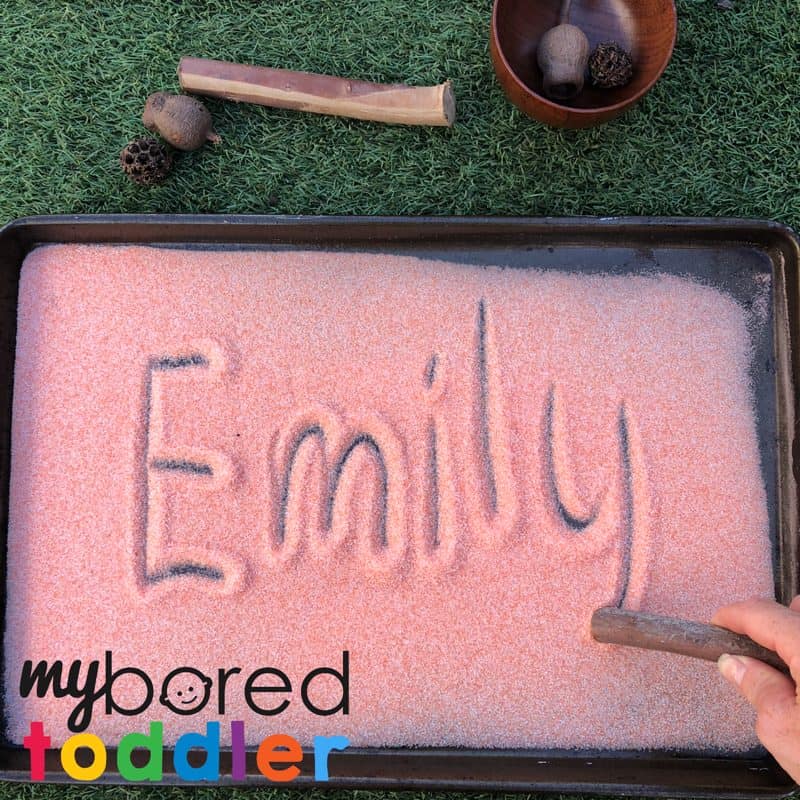
Let your toddler explore their creative side with some Sensory Salt Drawing. Inspire them to create, patterns, portraits, letters and whatever they fancy – the possibilities are endless! This is such a fun sensory play activity for toddlers.

Sensory Salt Drawing
Sensory play is always a big hit at our house. With both Miss 2 and Miss 5 really enjoying drawing inside lately, combining this passion with their love for sensory play seemed like a sure success. It was a great hit and here is how we did it!
What You Need To Make Your Sensory Salt Drawing

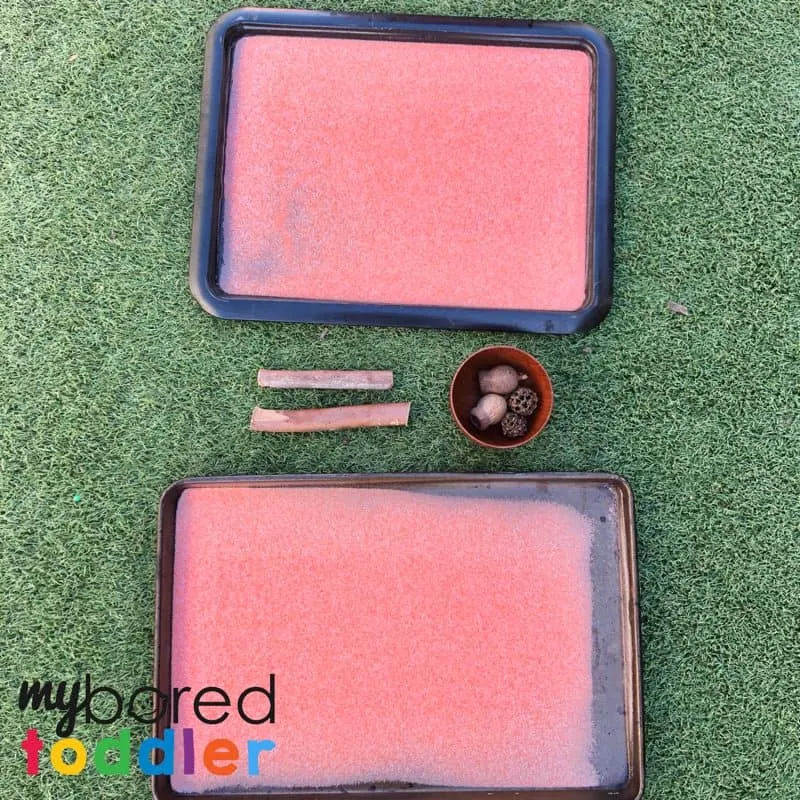
- Baking / Cookie Tray
- Fine Salt
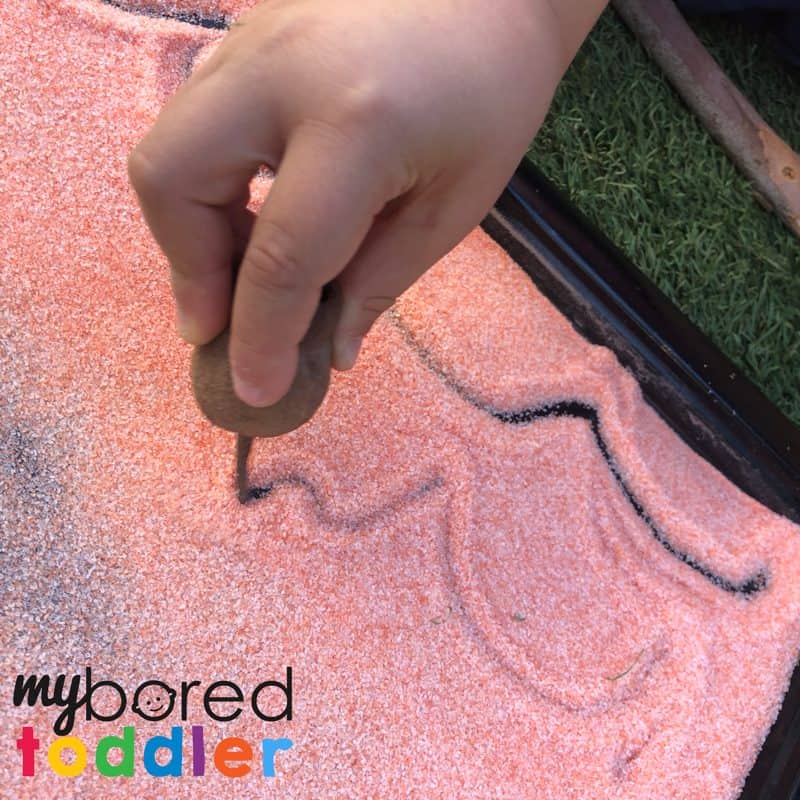
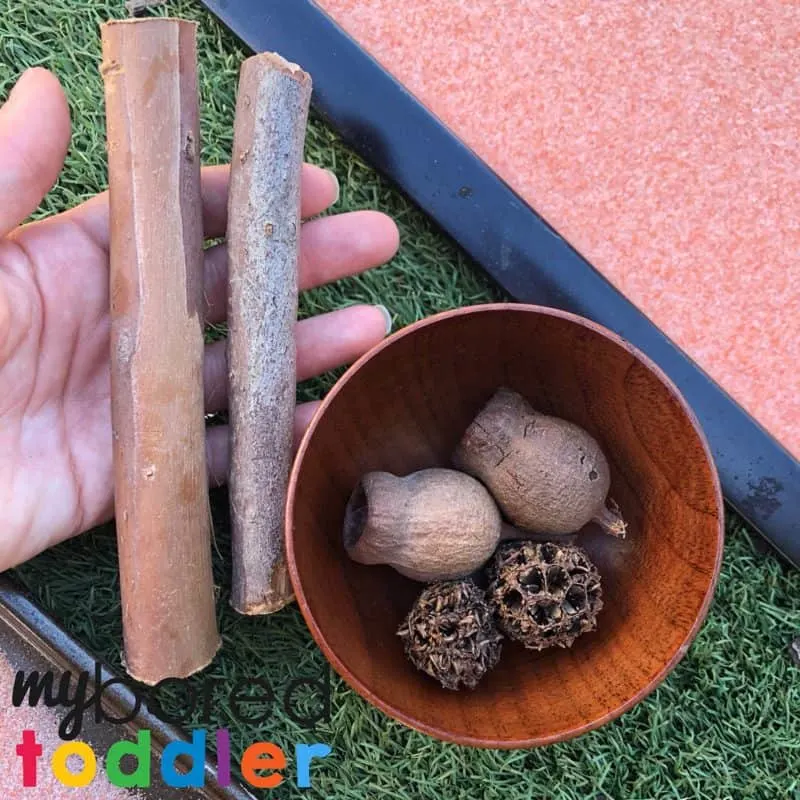
- Nature finds (we used gumnuts and branch cut offs)
- zip lock bag
- food coloring
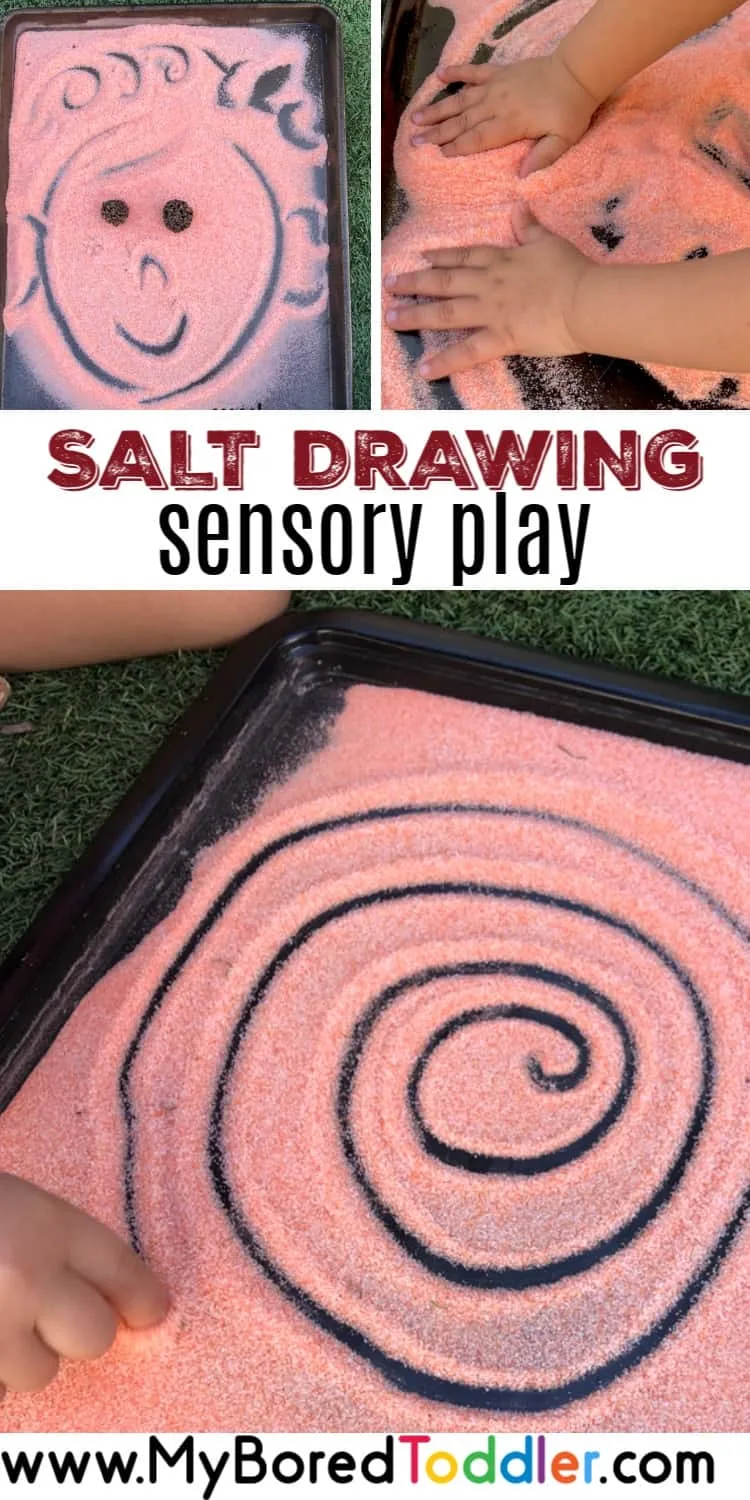
We used coloured salt for the extra visual appeal. You can use natural, white salt or if you would prefer to use coloured salt it is really very simple to make.
Add your salt into a zip lock bag, add a few drops of food colouring, zip it up and give it a shake. It’s just a matter of adding the colouring until you are happy with the intensity. Simply lay it out of a flat tray to dry and then you are ready for some fabulous salty, sensory play!
How To Set Up Your Sensory Salt Drawing Activity
Setting up this activity really is very simple.

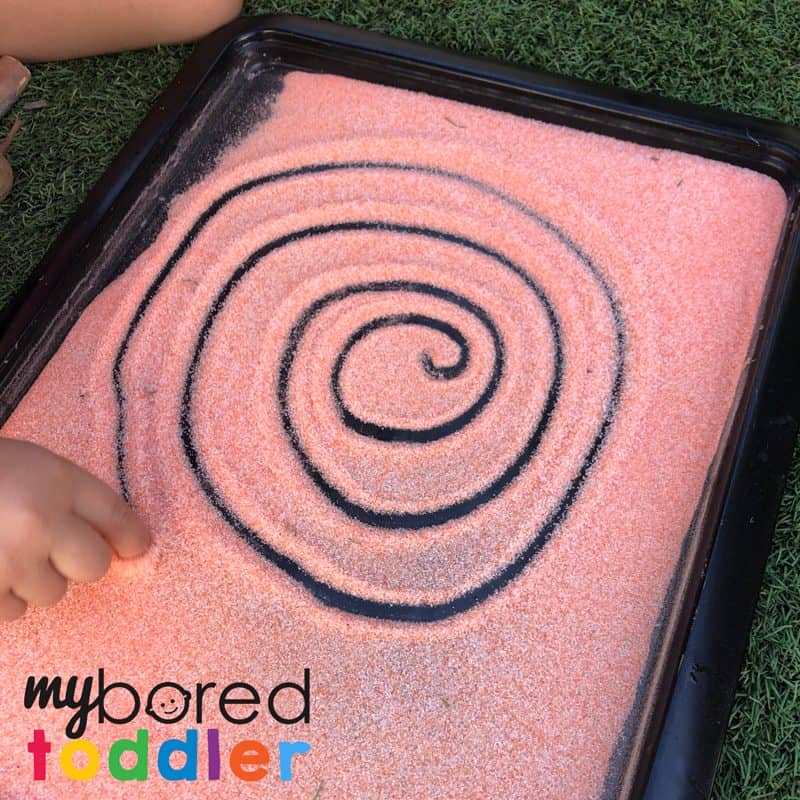
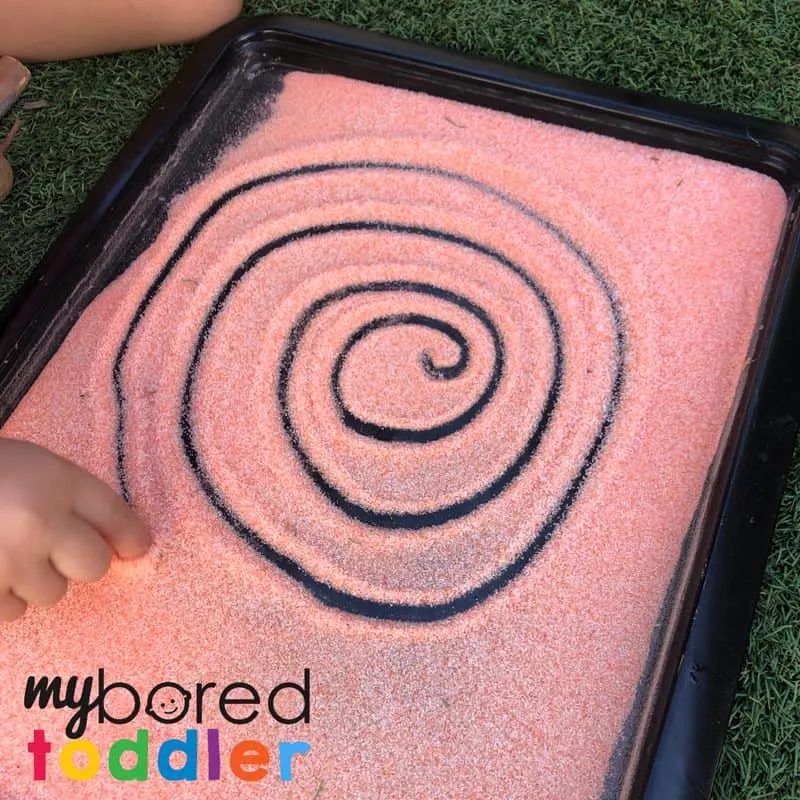
Pour your salt onto your tray. There is a fine line between having too much and the right amount of salt. If it is too thick, it can be challenging to create a design that holds its form and is clear to see. If you can run your finger through the salt and you can see the tray underneath without medium sliding over your design, you have the perfect amount.
We used some natural materials we had collected from previous adventures in the great outdoors. You could too or make a special trip down to your local park to gather material that your toddler would like to experiment with.

I presented our trays to the girls with minimal brief to encourage them to be inspired by their own creativity.
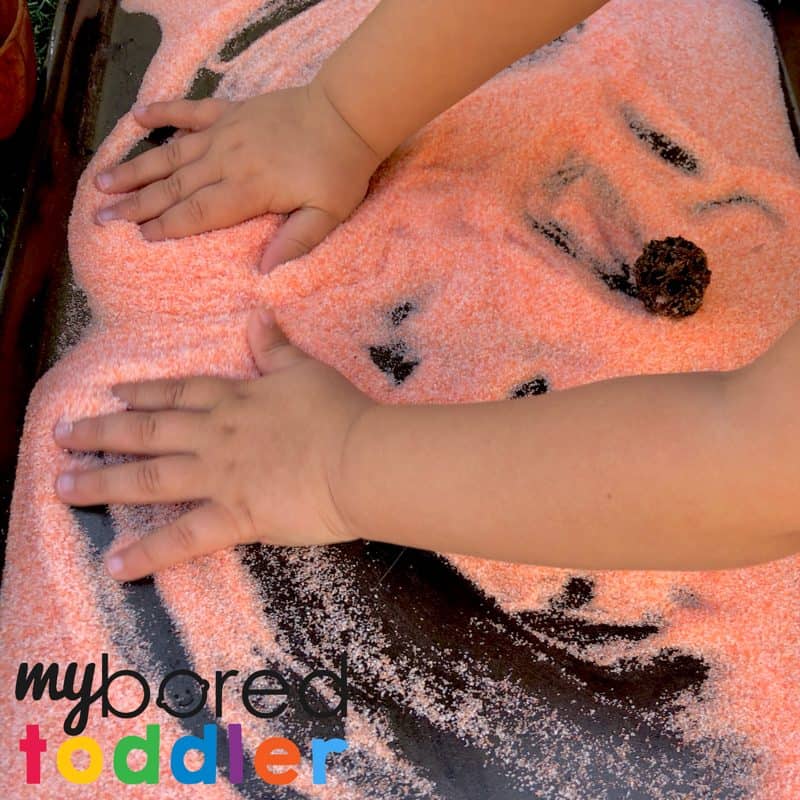

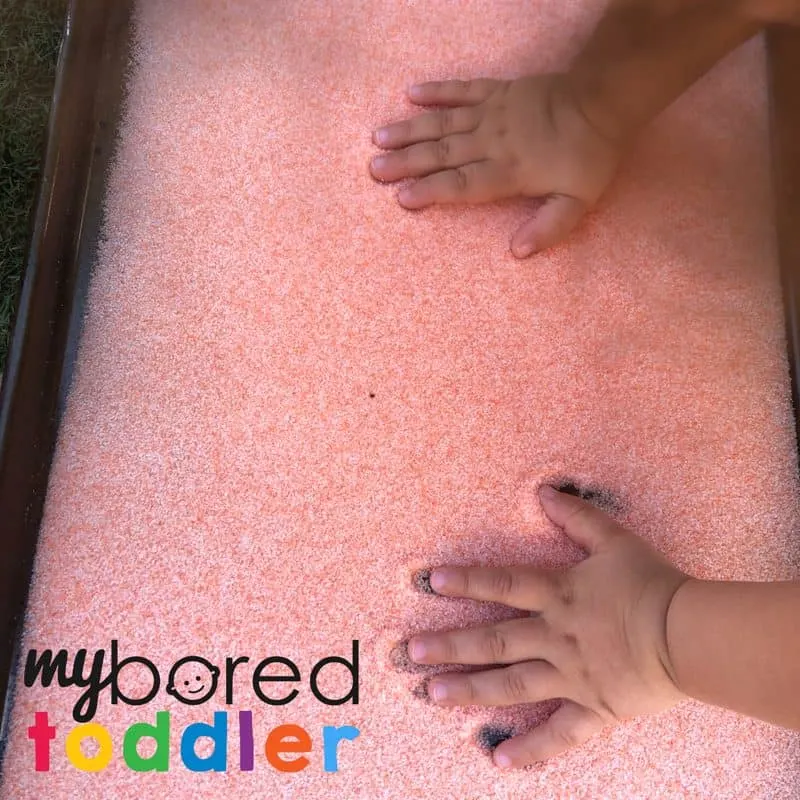
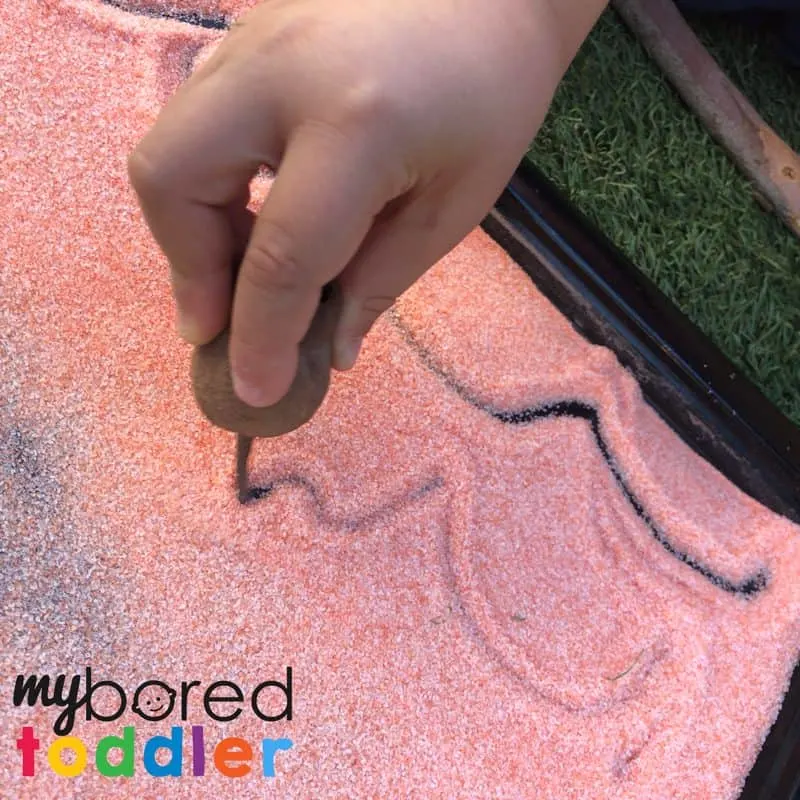
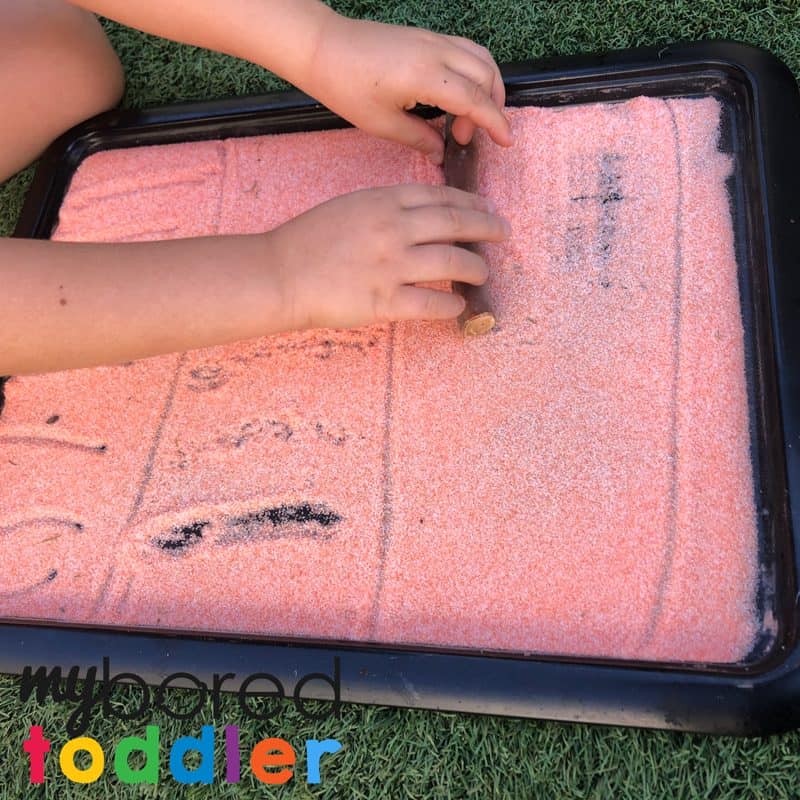
They started by running their fingers through the fine grains of salt. Curious fingertips quickly turned into fingers which turned into hands. The reveal of the contrasting black tray underneath the salt was a reward for every movement.
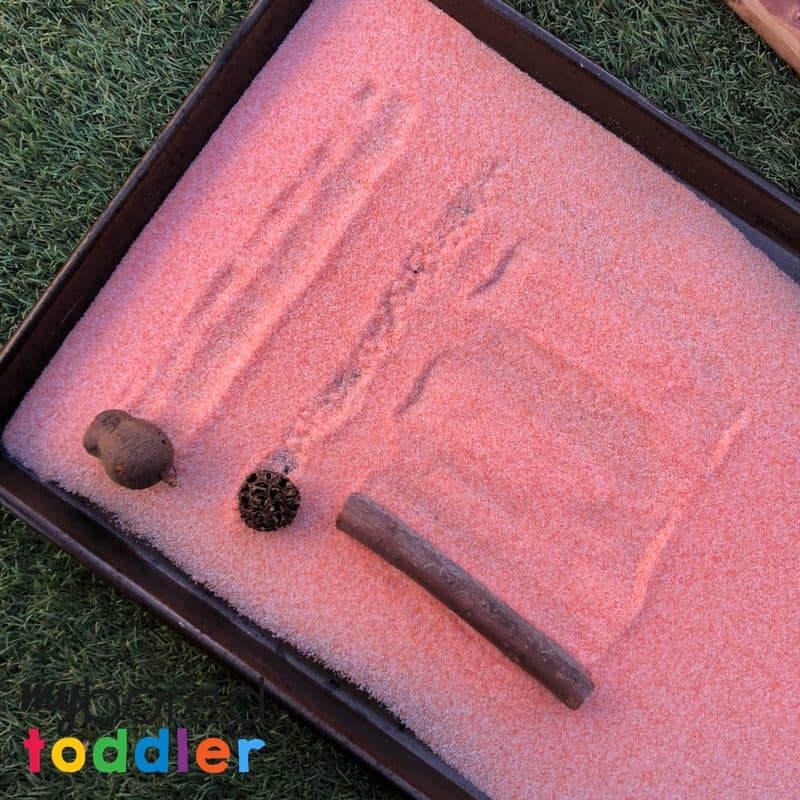

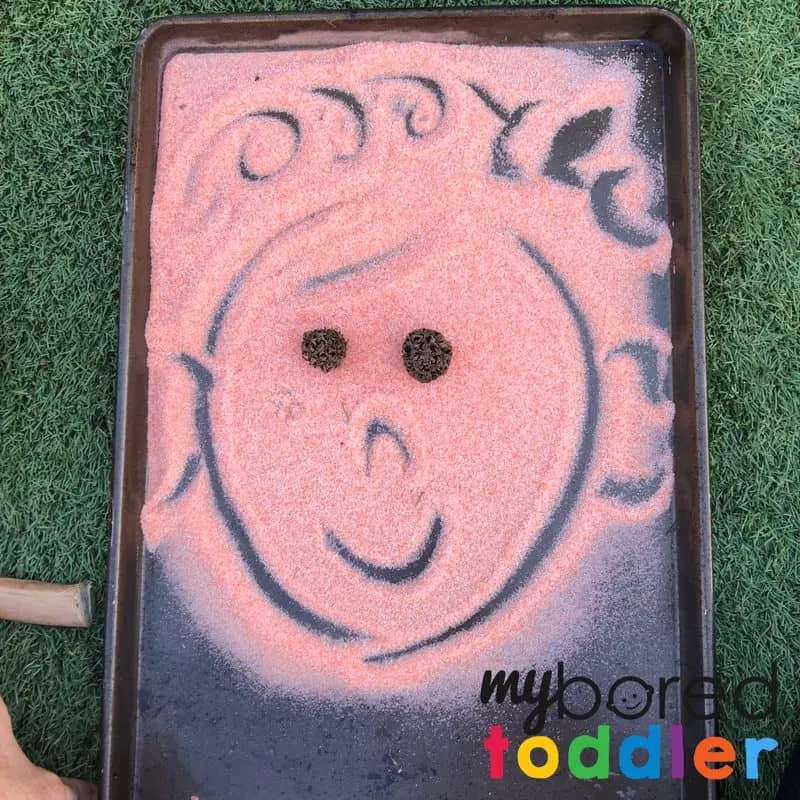
Miss 2 was the first to reach for the tools provided. She used the gumnuts to make circles across the salt. I made comment that they looked like a face and Miss 5 created her own using the nuts to make eyes for her salt design.

Our Sensory Salt Drawing was lots of fun. Truth be told, I enjoyed creating my own little design once Miss 2 abandoned her tray. It was quite therapeutic! Both the girls loved exploring this new medium. We will certainly be doing more Salt Drawing in the future.
You can see some of the fun ways we played with the sensory salt below:


I hope you loved our sensory salt drawing activity as much as we did. Some more activities you might enjoy are:


Fine Motor Activities for Toddlers
If you love this post why not PIN IT to Pinterest.

About the Author:
Dani is a busy stay at home Mum of 3 and early childhood teacher in training who is passionate about play based learning throughout early childhood. For educational play ideas that you can do at home and parenting tips visit Play Inspired Mum Check her out on Instagram andFacebook