Brighten up your day with this colourful, simple paper craft idea. These handprint butterflies are each as unique as the amazing little person who crafts them.
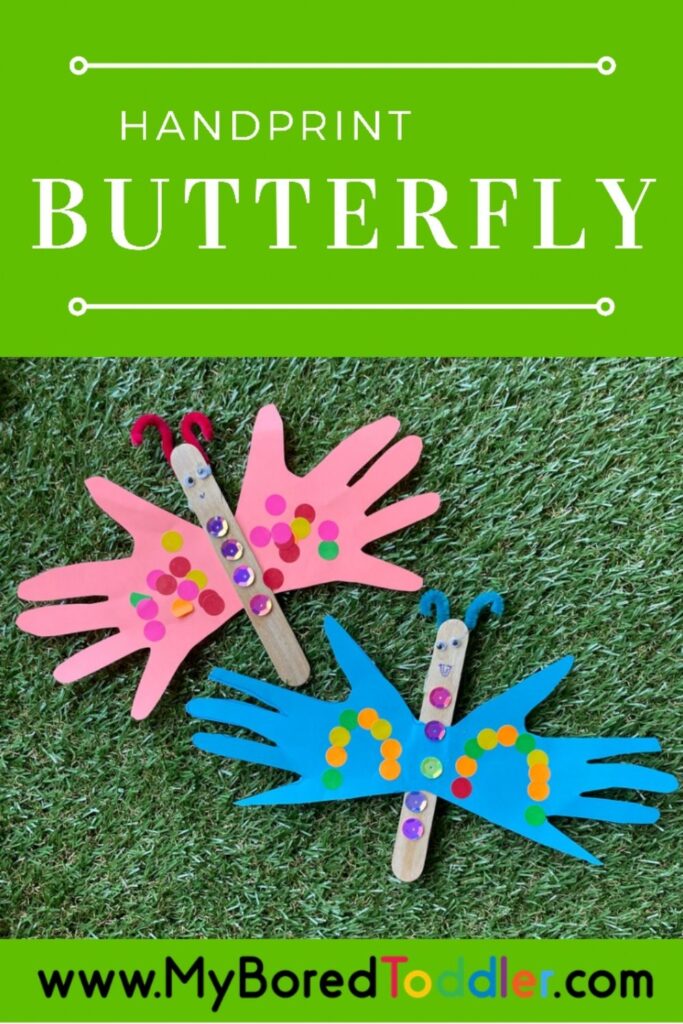

Handprint Butterfly
There is something special about crafting with a handprint. Much like their creator, a handprint is entirely unique to just them. Take this humble butterfly craft to the next level with the personal touch that comes with a beautiful set of handprint wings.
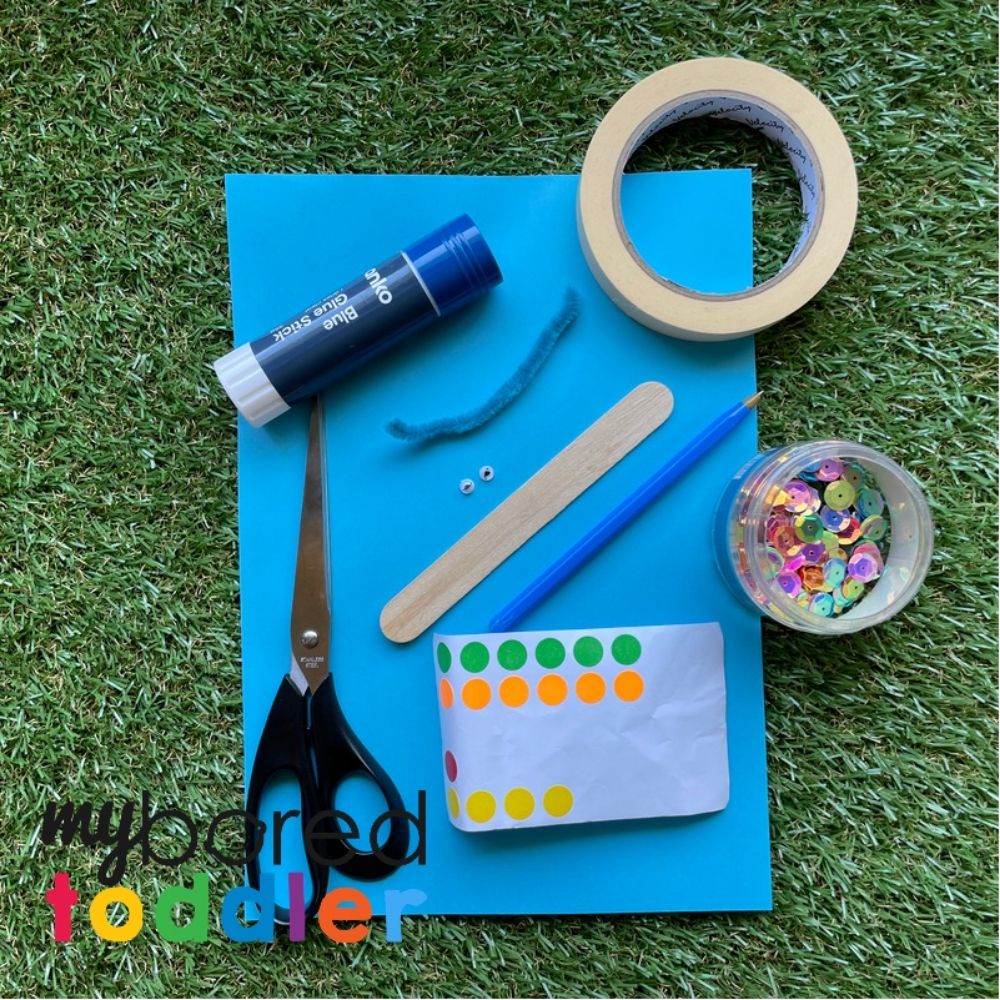

What you need to make a handprint butterfly craft:
- Coloured Paper
- Pen or Marker
- Scissors
- Glue Stick
- Craft Stick
- Pipecleaner
- Sticky Dots
- Sequins
- Masking Tape
- Boggle Eyes
How to make your handprint butterfly:
Fold the piece of paper in half, shorter length to shorter length.
Position your child’s wrist over the fold with fingers spread across the page. Ensuring a bit of their wrist is included in the outline, allows for space for the craft stick body of your butterfly. The hands will display more prominently this way.

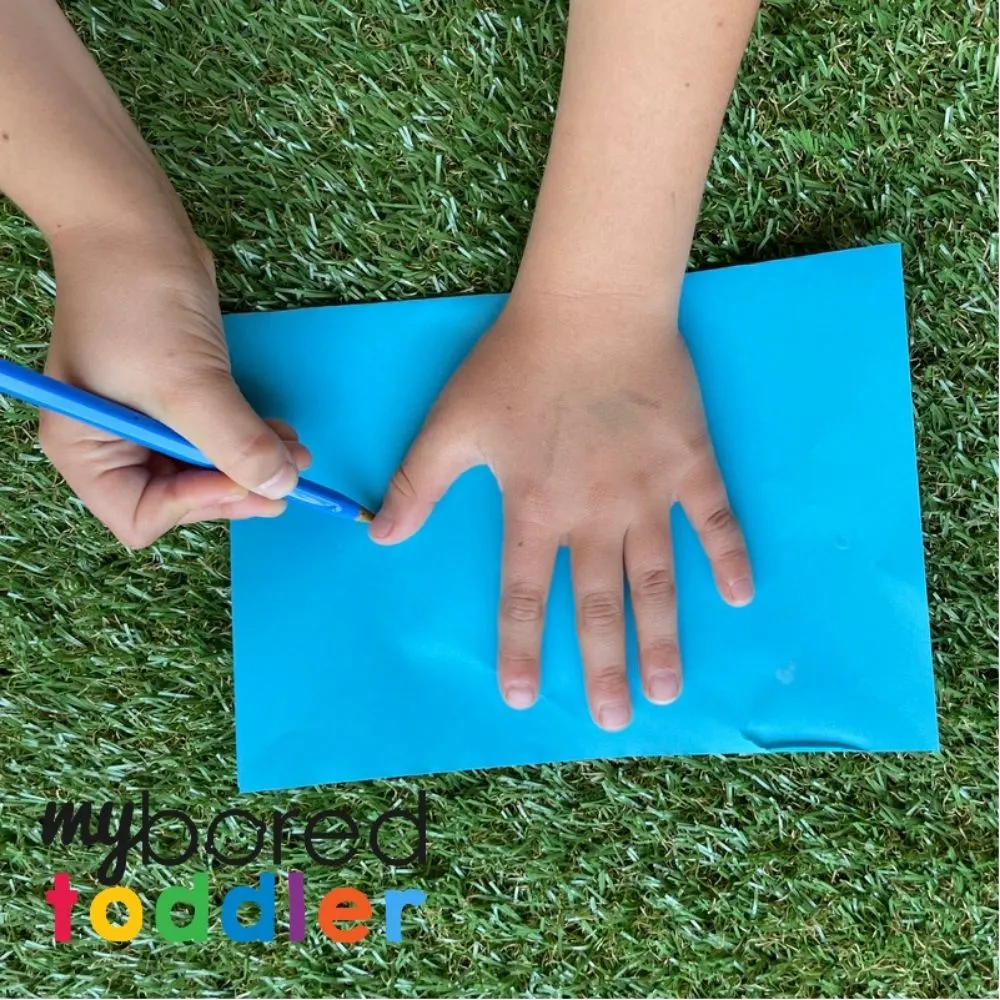
Outline their hand using the pen or marker- mind the between the finger tickles!
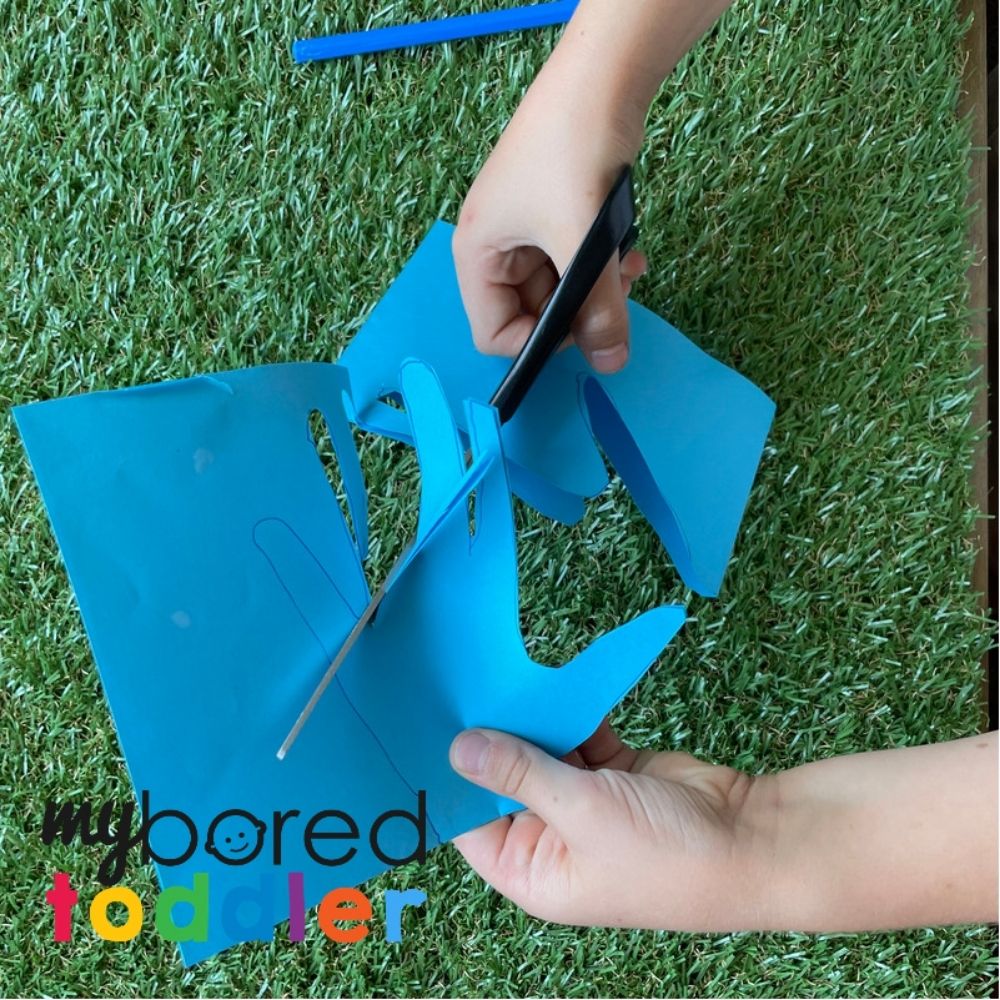
Once the outline is complete, keep the paper folded in half and cut out the handprint. Mind not to cut the fold! If your child is cutting out the handprint, please encourage thumbs up, elbows in, and remind them to watch out for their helping hand.
Cutting with scissors is a fabulous way to encourage the development of so many important skills. While navigating the scissors across their project, your child will be strengthening their fine motor skills, bilateral coordination, and hand-eye coordination to name just a few.

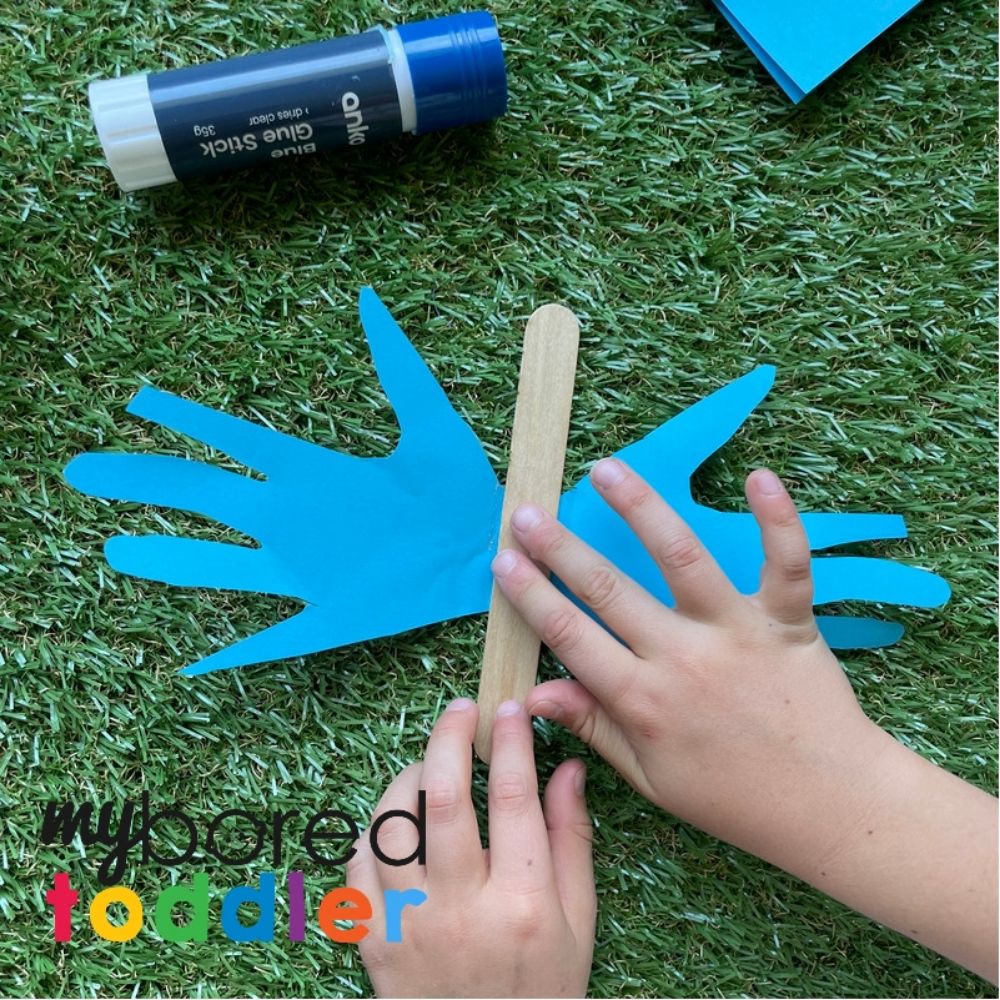
The next step is to secure your handprint wings to the craft stick body. With wings open, apply a stripe of glue down the centre, across the fold line. Press the craft stick firmly into the glue.

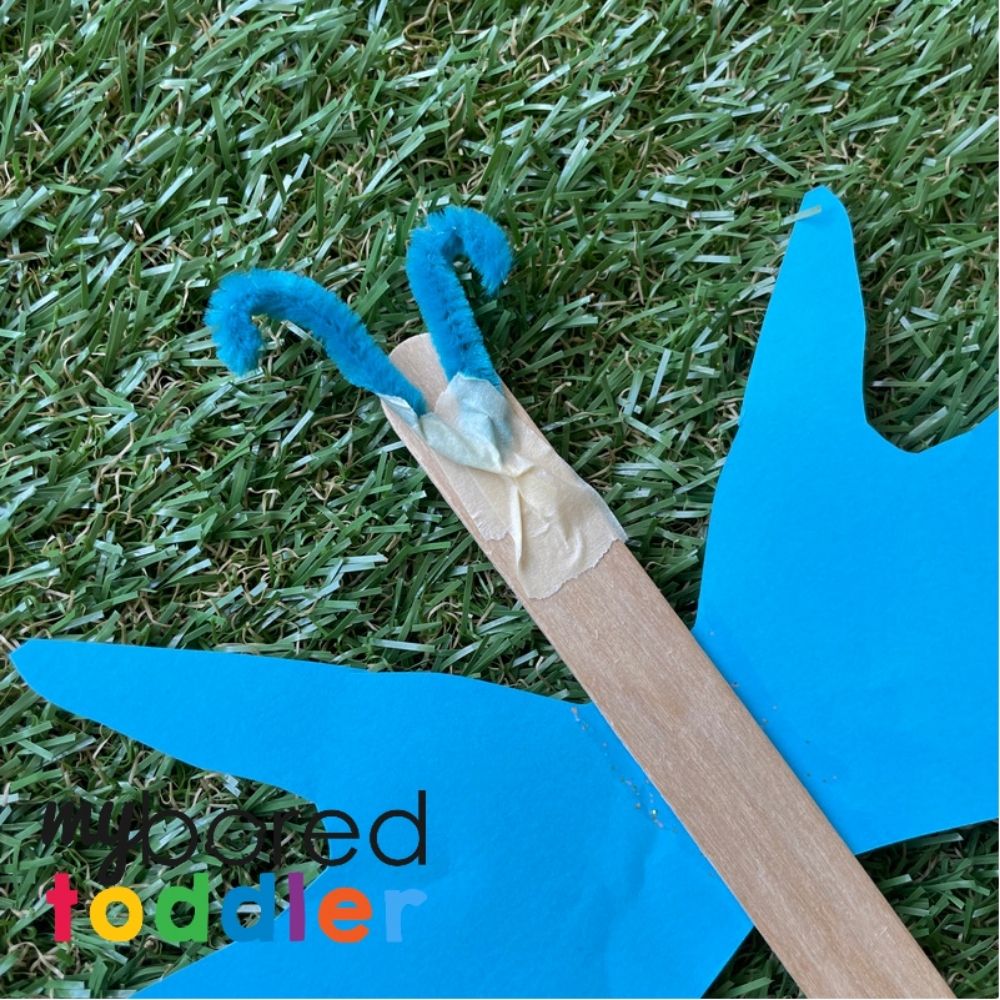
Flip the butterfly over and secure the pipe cleaner to the back of the craft stick with the masking tape. Bend the pipe cleaner antennae to make little loops at each end.
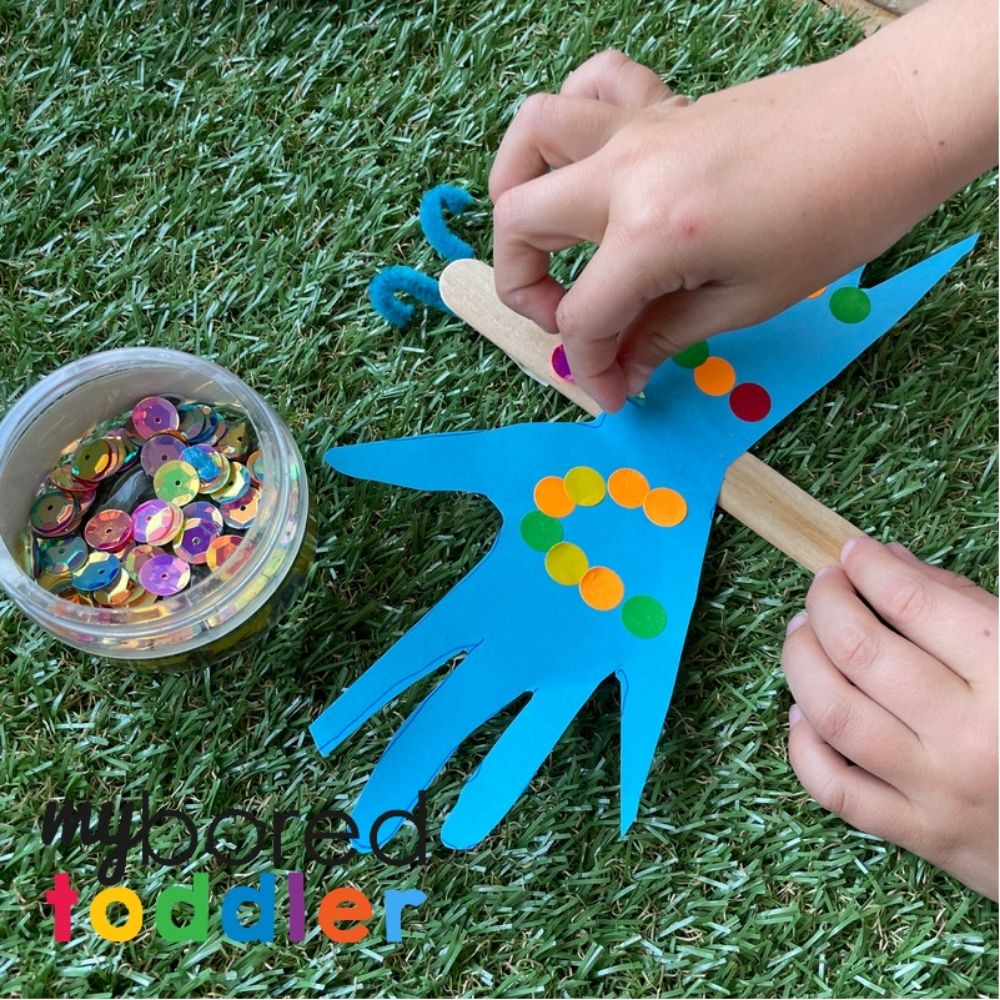
Once the antennae are attached, turn the butterfly back over, right side up. Now it is time to decorate!

Using the sticky dots, decorate the butterfly’s wings. Aim for symmetry or go crazy! There is no wrong way of styling the butterfly’s wings.
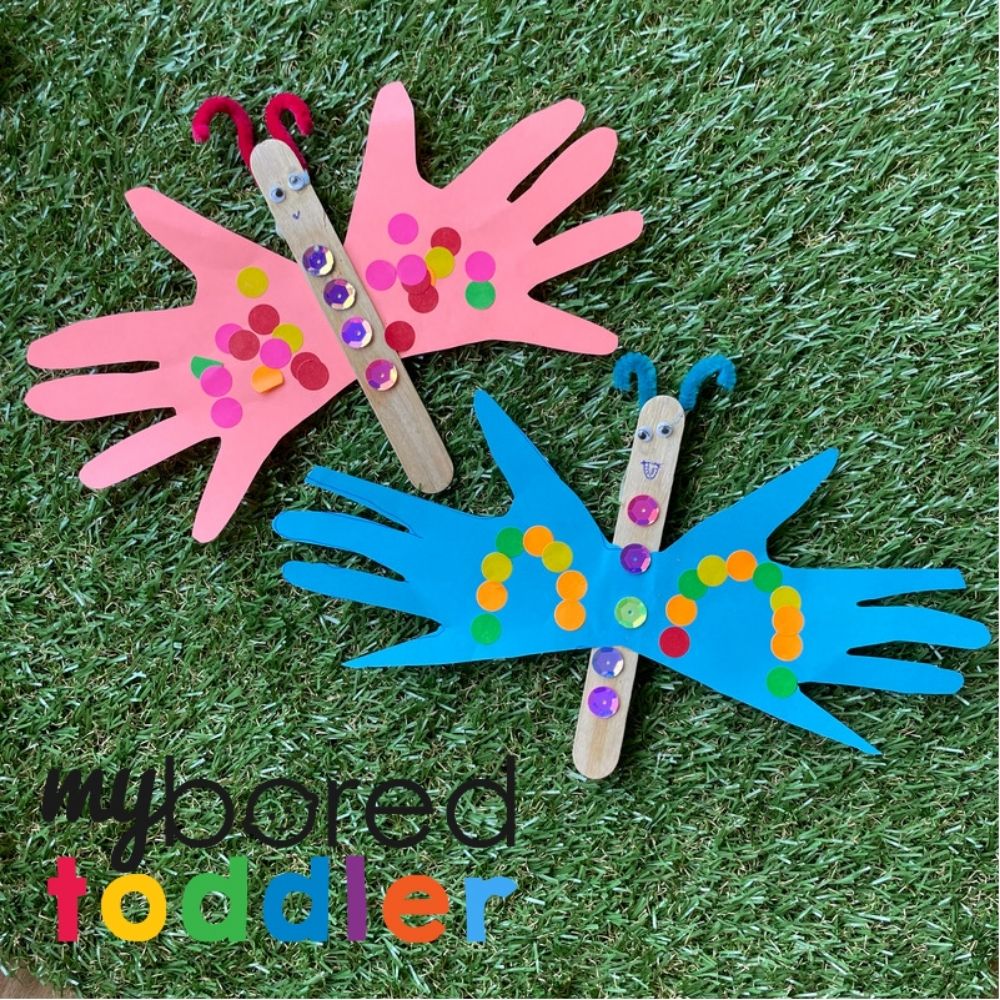
From here, apply a stripe of glue down the bottom two-thirds of the craft stick. Gently press the sequins into the glue to add some sparkle to the butterfly’s body.

Finally, the last slick of glue on the top end of the craft stick will secure the bobble eyes in place. A quick flick with the pen or marker to finish the look and your Handprint Butterfly is complete!

These handprint butterflies are such a personal, fun paper craft idea. They are perfect to fill in
the hour before school pick up or as a playgroup craft. Either way, your toddler will love
decorating their hands with pride!
For more fun toddler activity ideas why not join our Facebook Group or follow us on Instagram – follow @myboredtoddler and use #myboredtoddler.
SOME MORE FUN TODDLER ACTIVITY IDEAS YOU MIGHT ENJOY ARE:
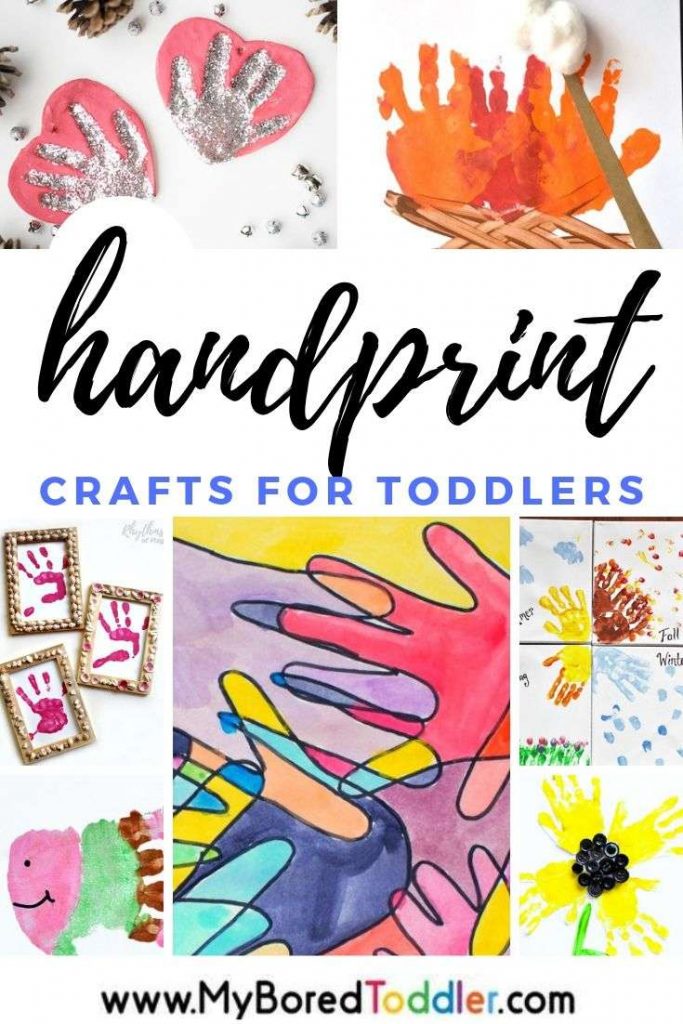
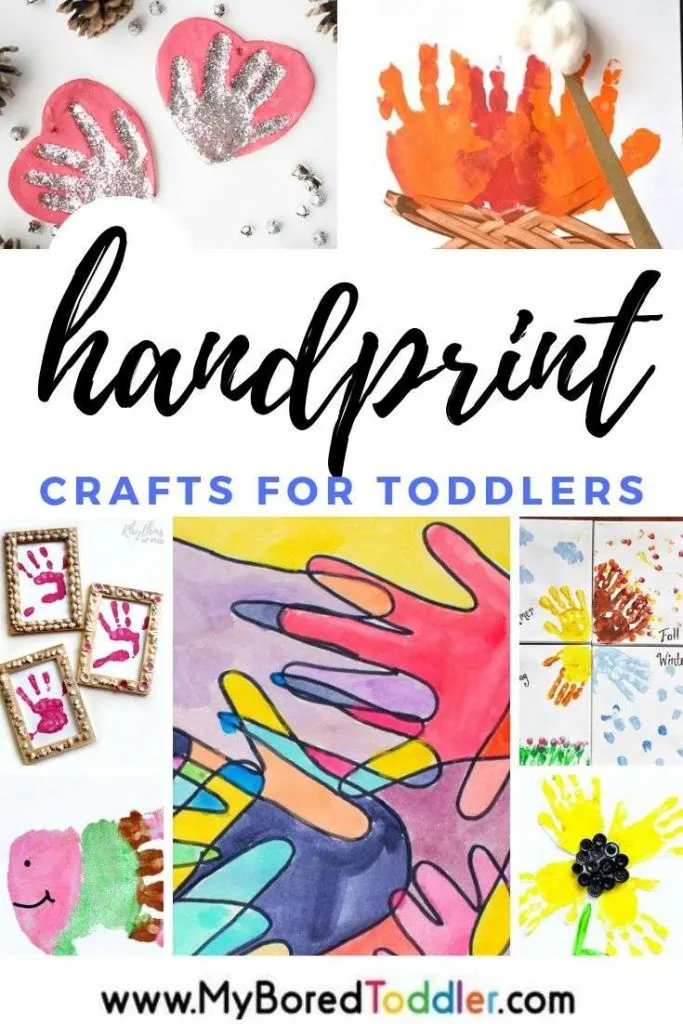
Handprint Crafts for Toddlers
Easy Crafts for Toddlers

About the Author
Dani is a busy stay-at-home Mum of 3 and an early childhood teacher in training who is passionate about play-based learning throughout early childhood. For educational play ideas that you can do at home and parenting tips visit Play Inspired Mum Check her out on Instagram andFacebook
Don't miss these FREE Spring Toddler Printables